

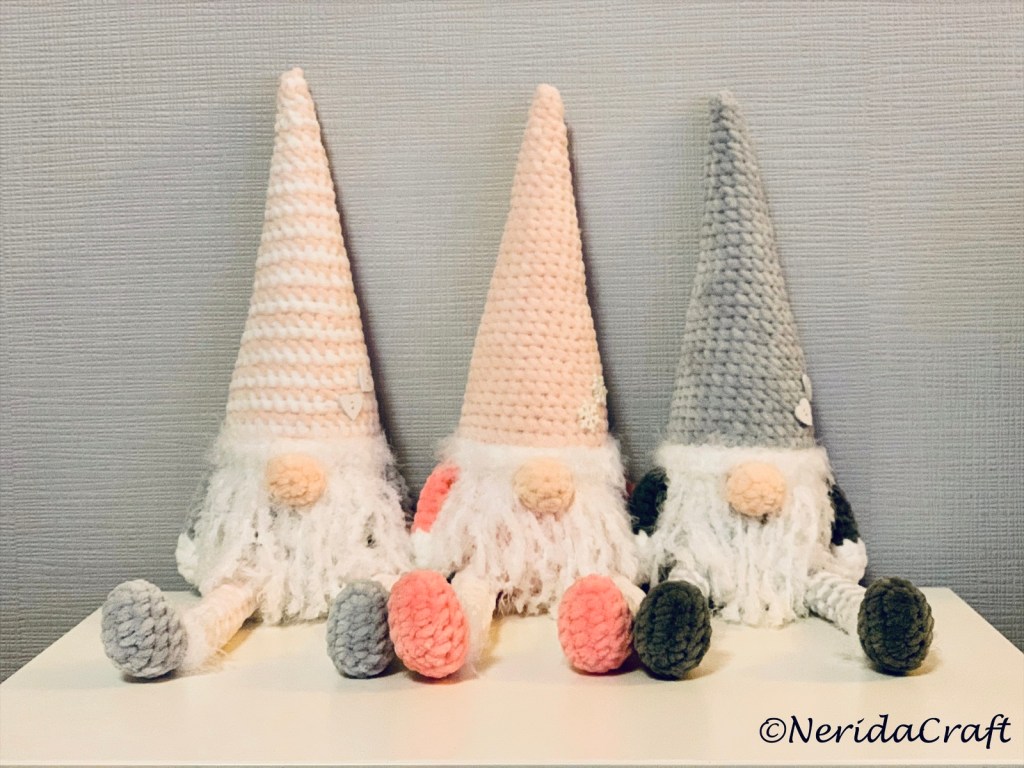
As promised in my previous post about christmas gomes, let me share here my gnome’s pattern.

https://neridacraft.com/2020/12/22/christmas-gnomes/
As I wanted to make a bigger one than those I made in the above collection, I used a thicker yarn, and a 4,5 mm crochet hook.

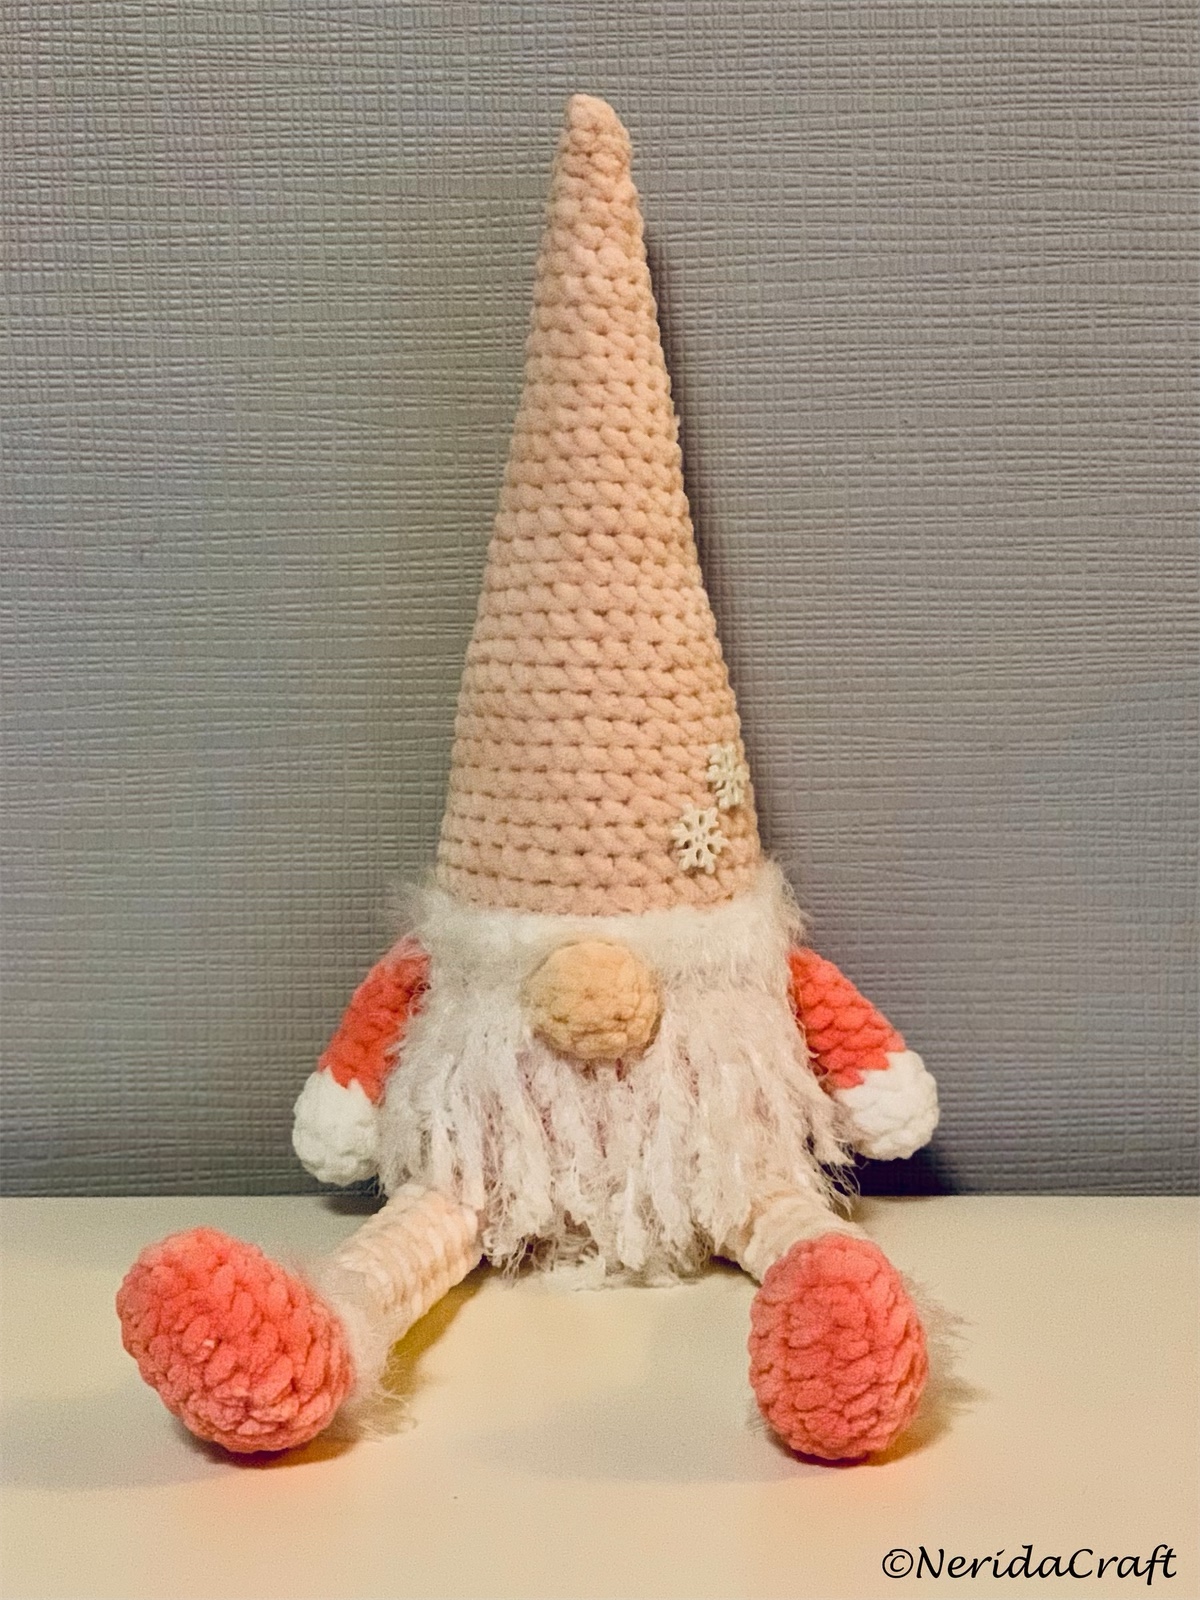
First I made one using similar colours as the previous ones above, then a few others, pink ones also as this was my daughter’s definite request. 😊
Pattern instructions:
Yarns:
Himalaya Dolphin Baby (100 polyester; 100g – 120mt/131 yds)
DMC Mellow (50% Nylon, 50% Polyester; 67 meters / 100 grams) : fur texture
Hook size: 4,5 mm
Size: height cca 45 cm (30 cm height when sitting)
Stitches used and abbreviations:
- slst: slip stitch
- sc: single crochet
- sc inc: single crochet increase – make 2 sc’s in the same stitch
- sc dec: single crochet decrease (for this type of yarn better to use normal decreases not the invisible one)
Start with crocheting the arms and the nose (these will be crocheted together with the body), then make the legs, continuously the body and finish with the hat.
Work in rounds, continuously, in a spiral form. When making the stripes, close the row with an slst, and chain one to start next row (with the new colour).
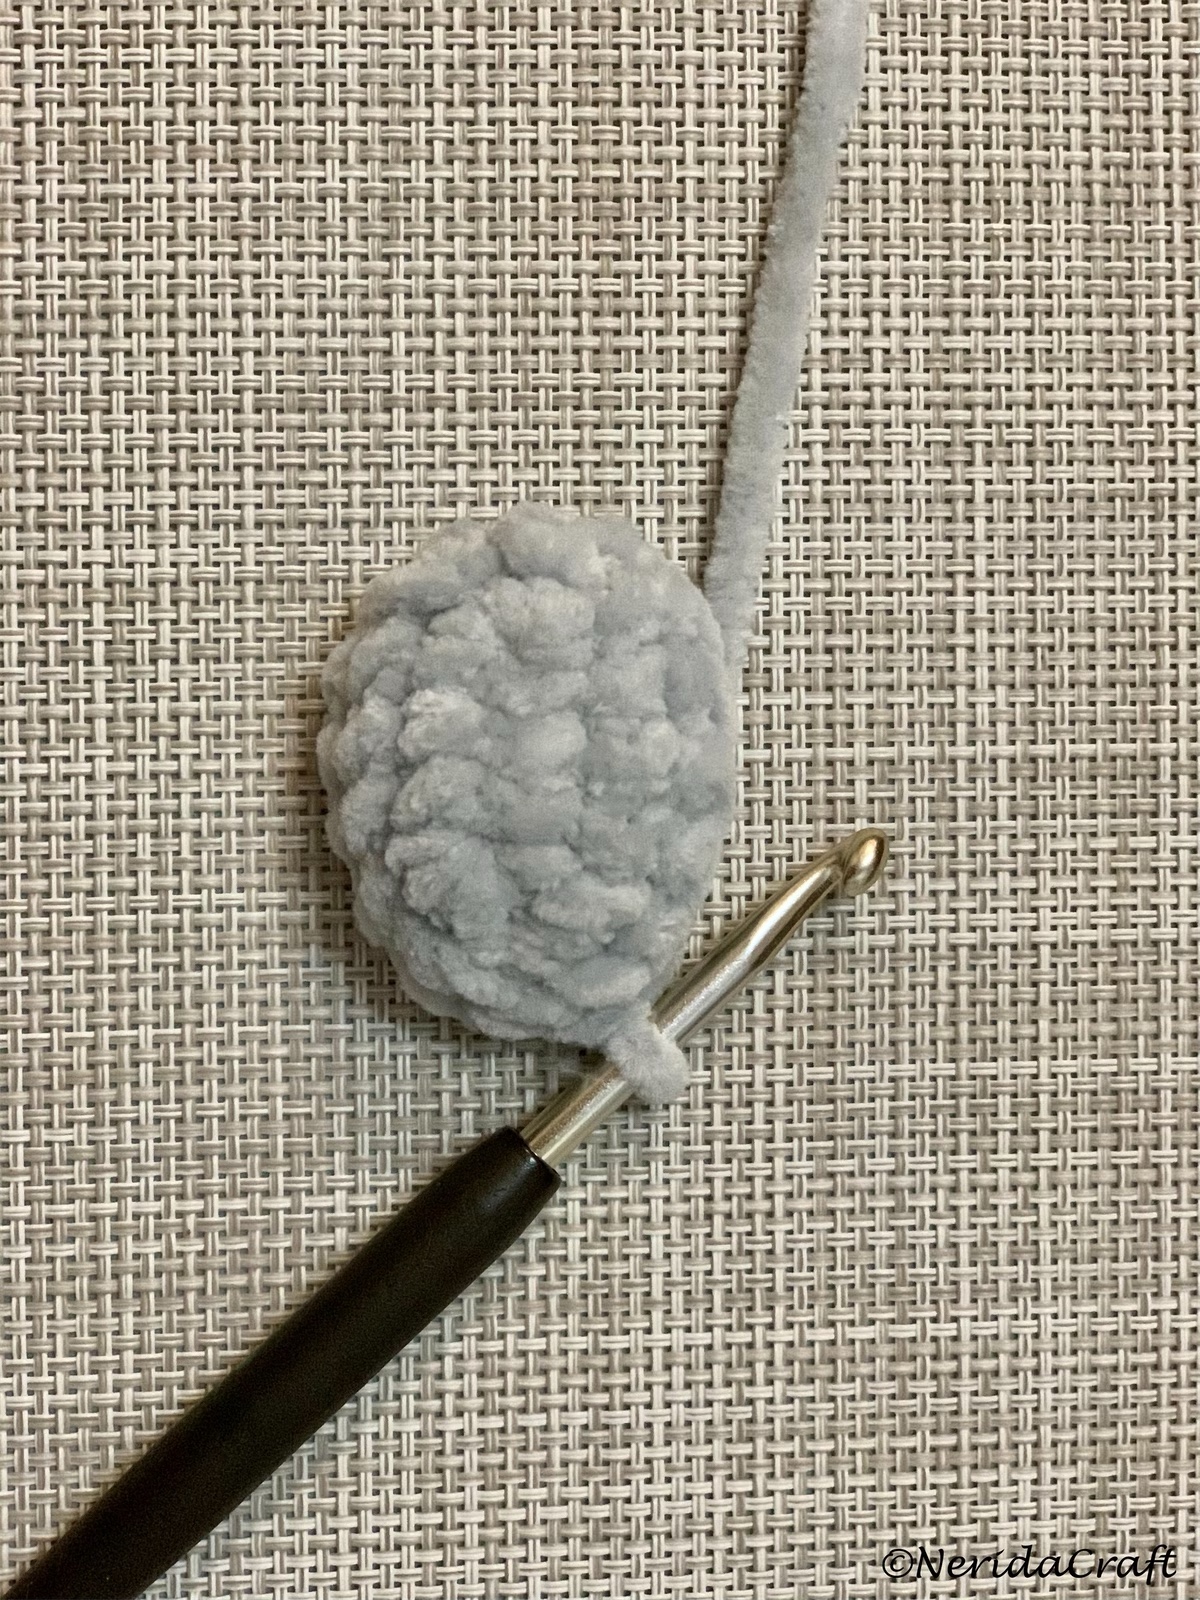
Arms (make 2):
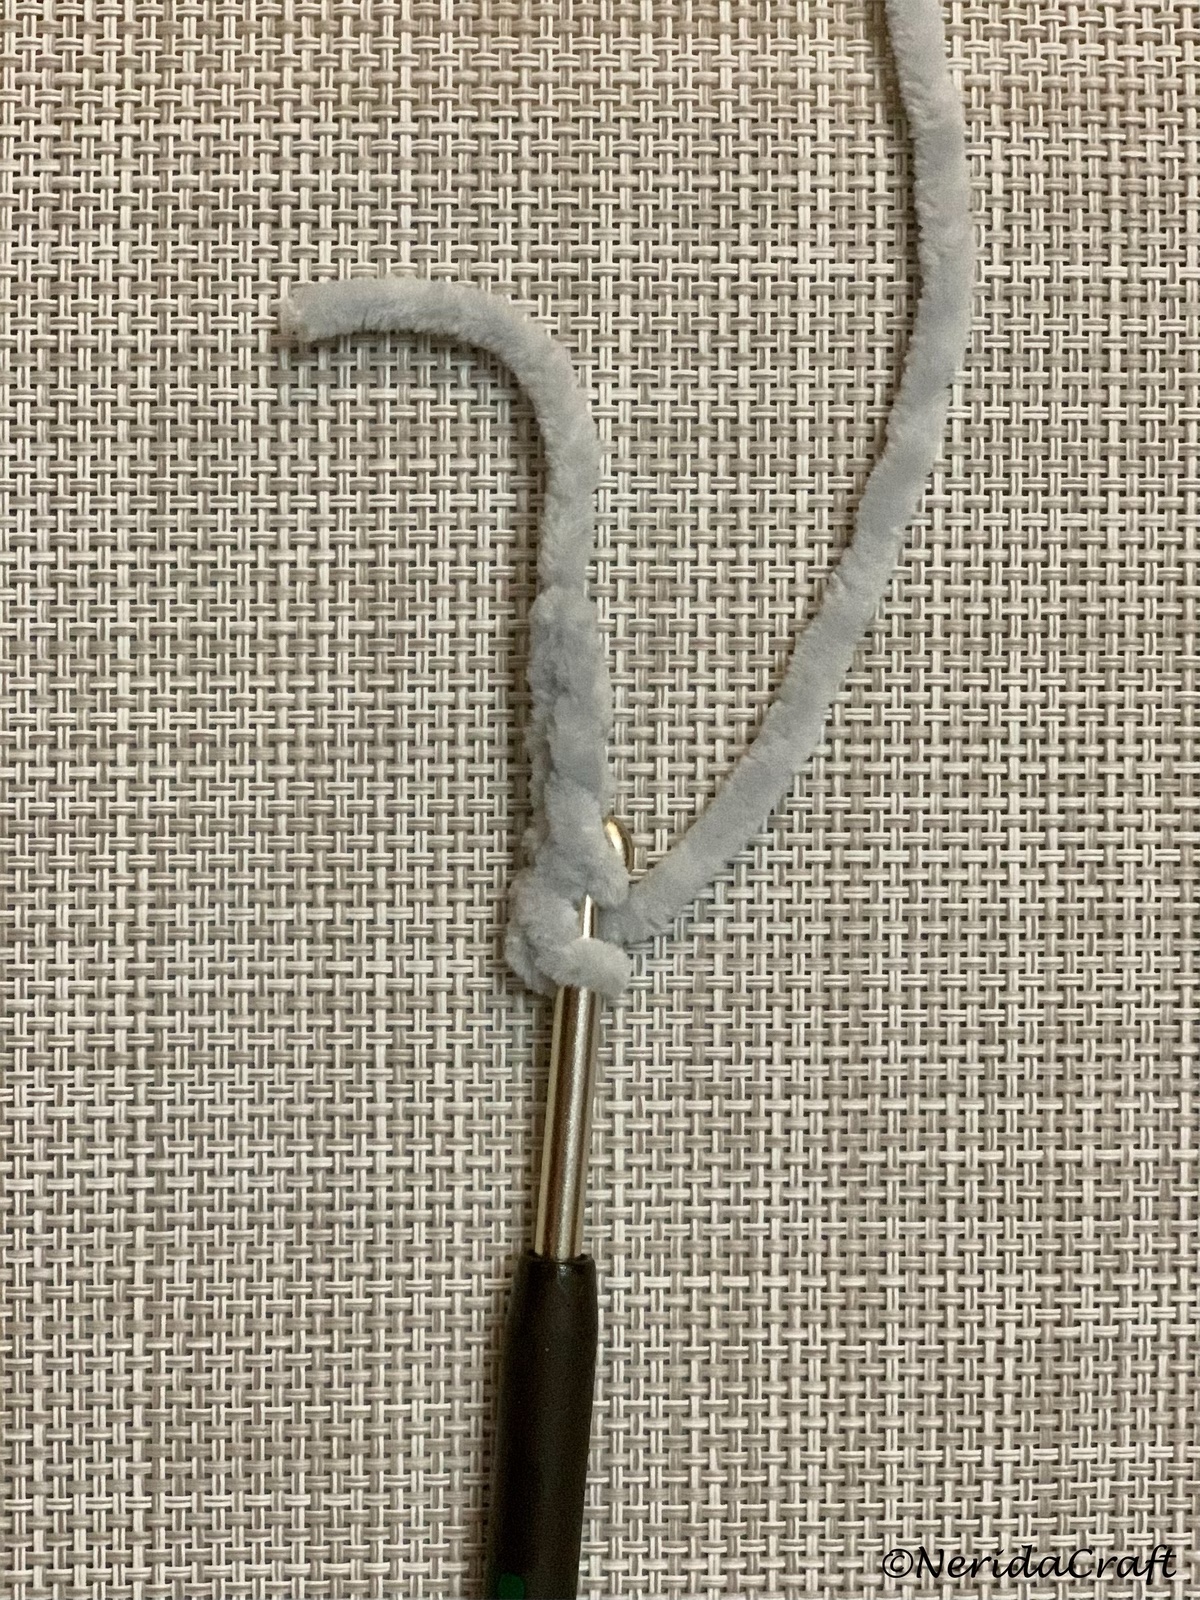
R1 (white): ch 2 and make 5 sc in 2nd stitch from hook (5 sc) (for this kind of yarn this worked better for me than starting with a magic ring)
R2 (white): 5 sc inc (10 sc)
R3 (white): 10 sc (10 sc)
R4 (white): (sc, sc dec) x 3, sc (7 sc; change to grey – colour of arm/body)
R5 – R9 (grey): 7 sc (7 sc – 5 rounds)
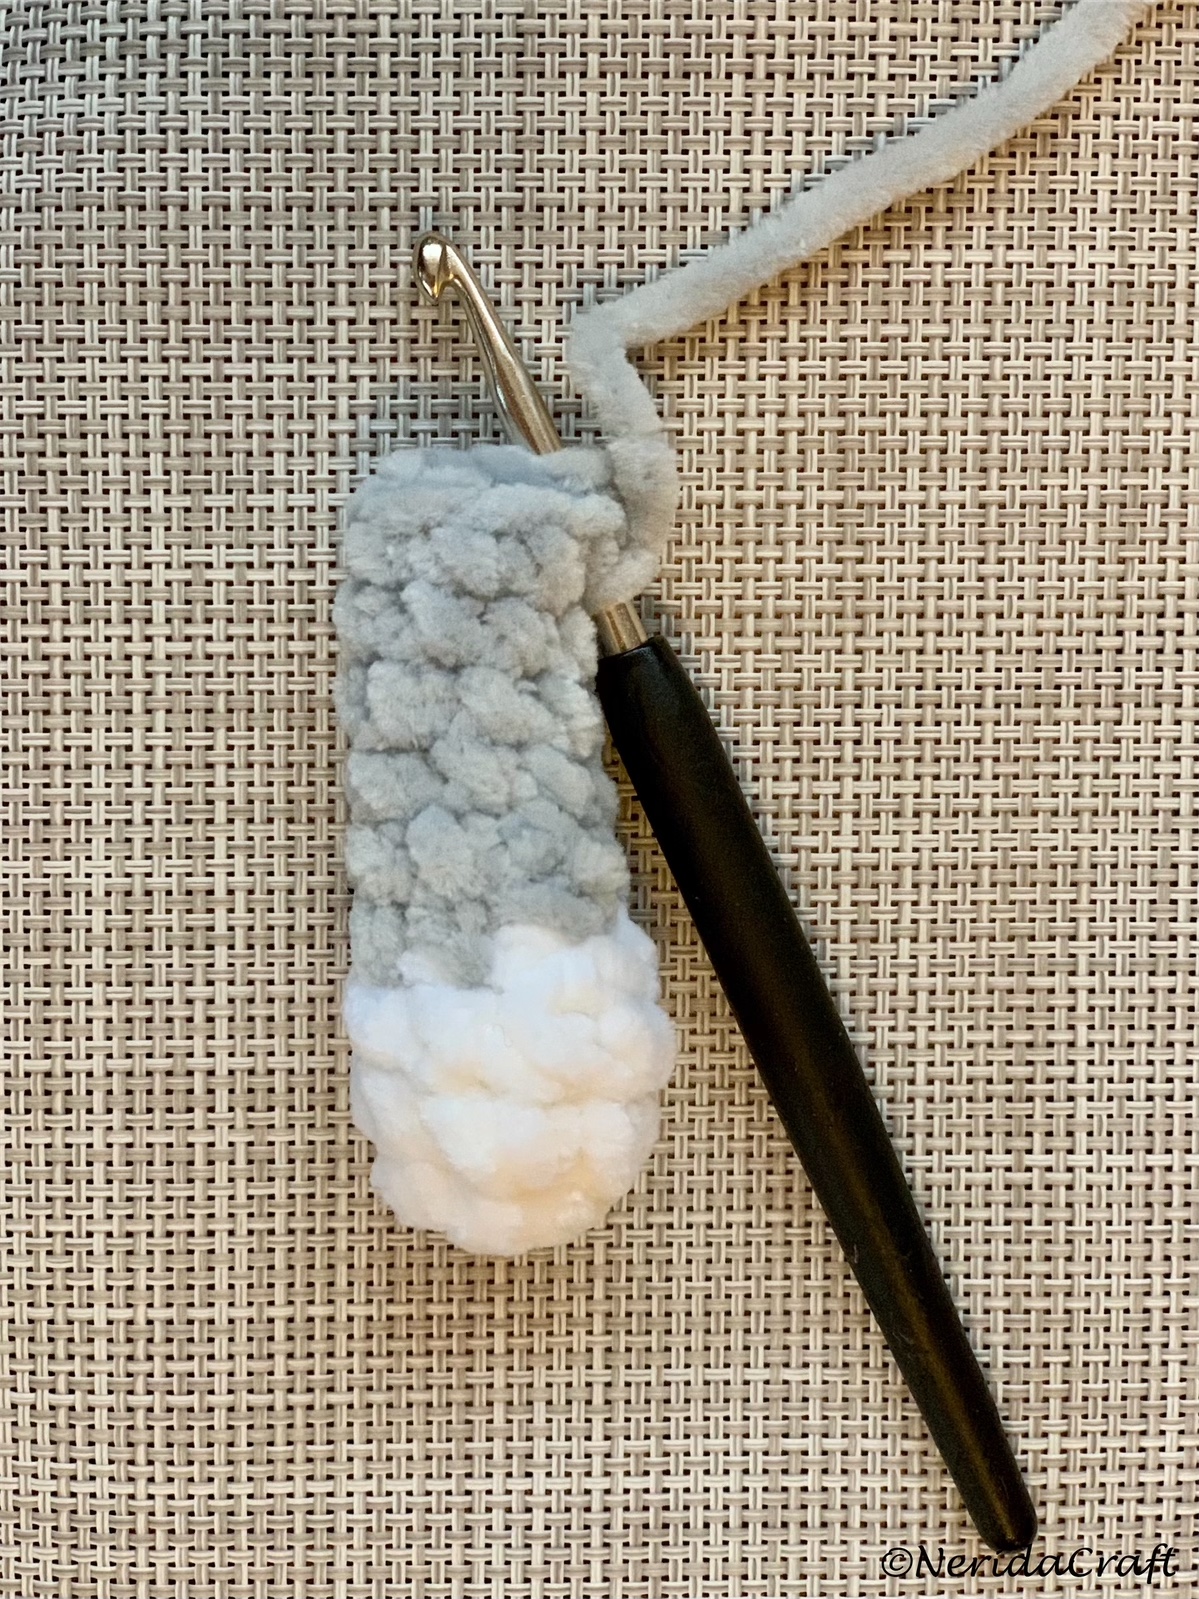
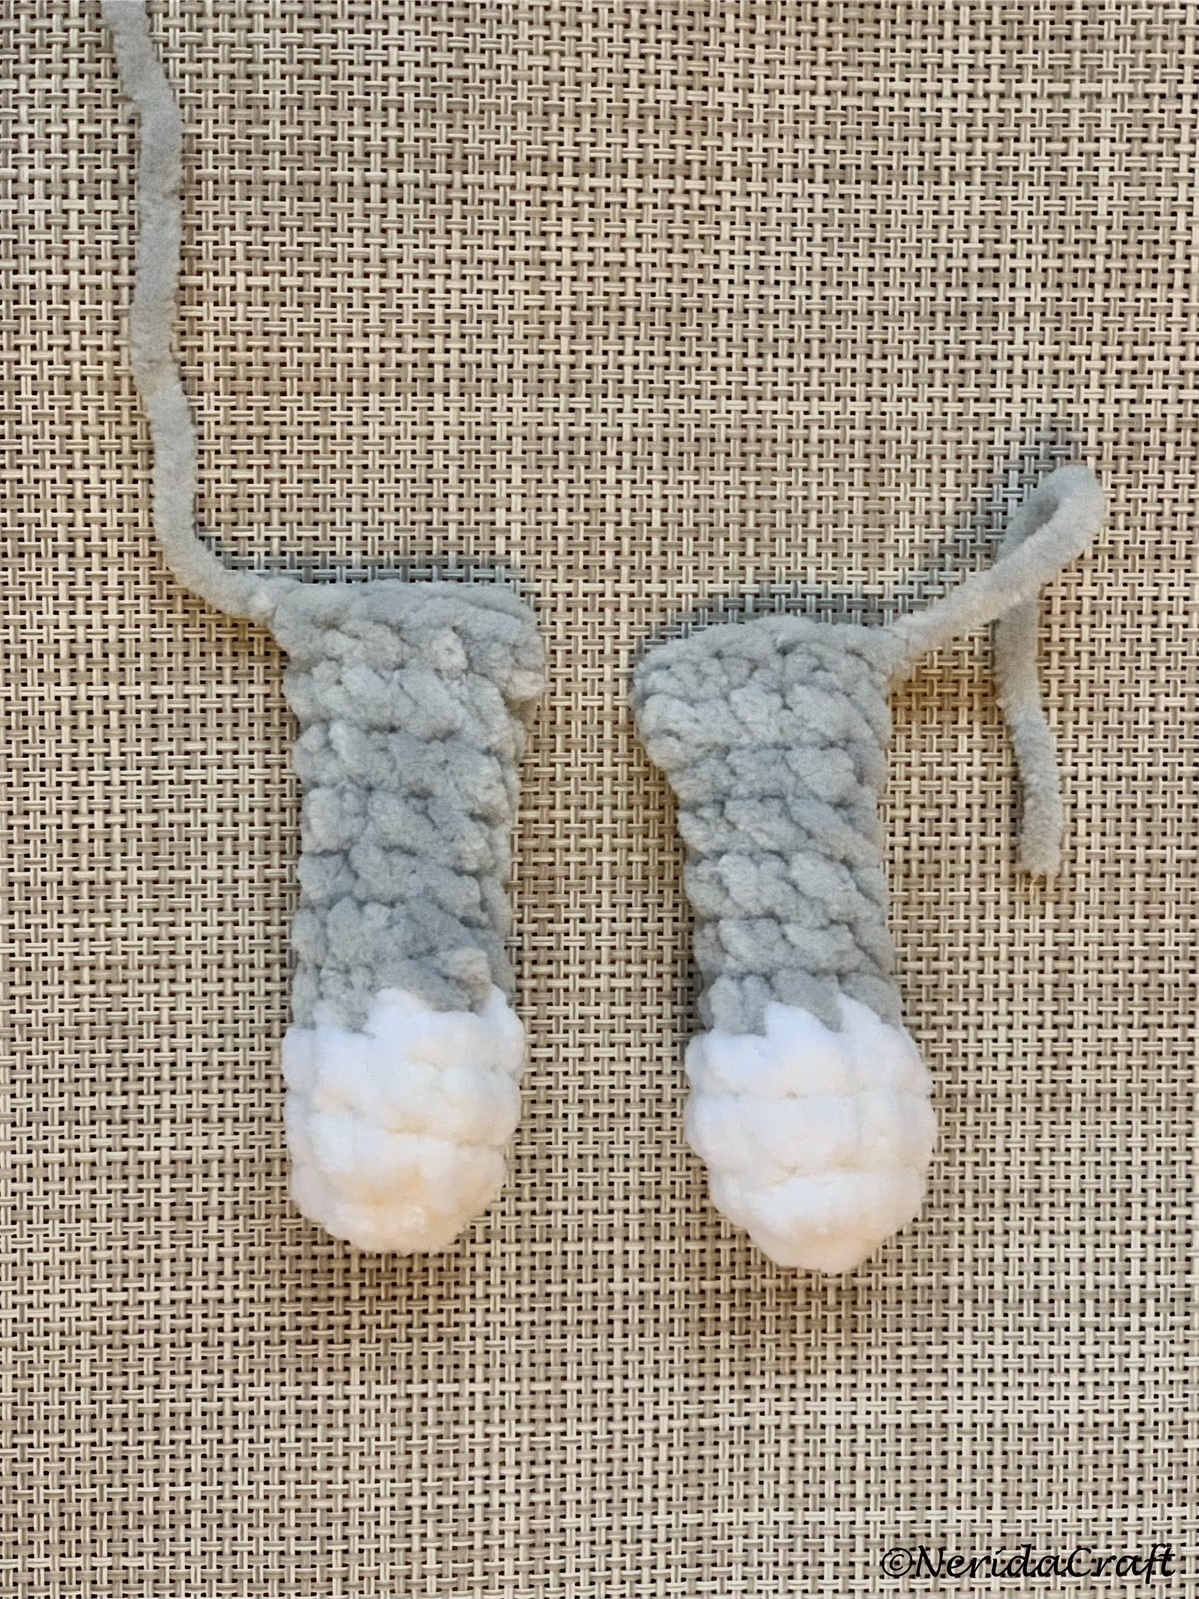
R10 (grey): 6 sc, sc inc (8 sc)
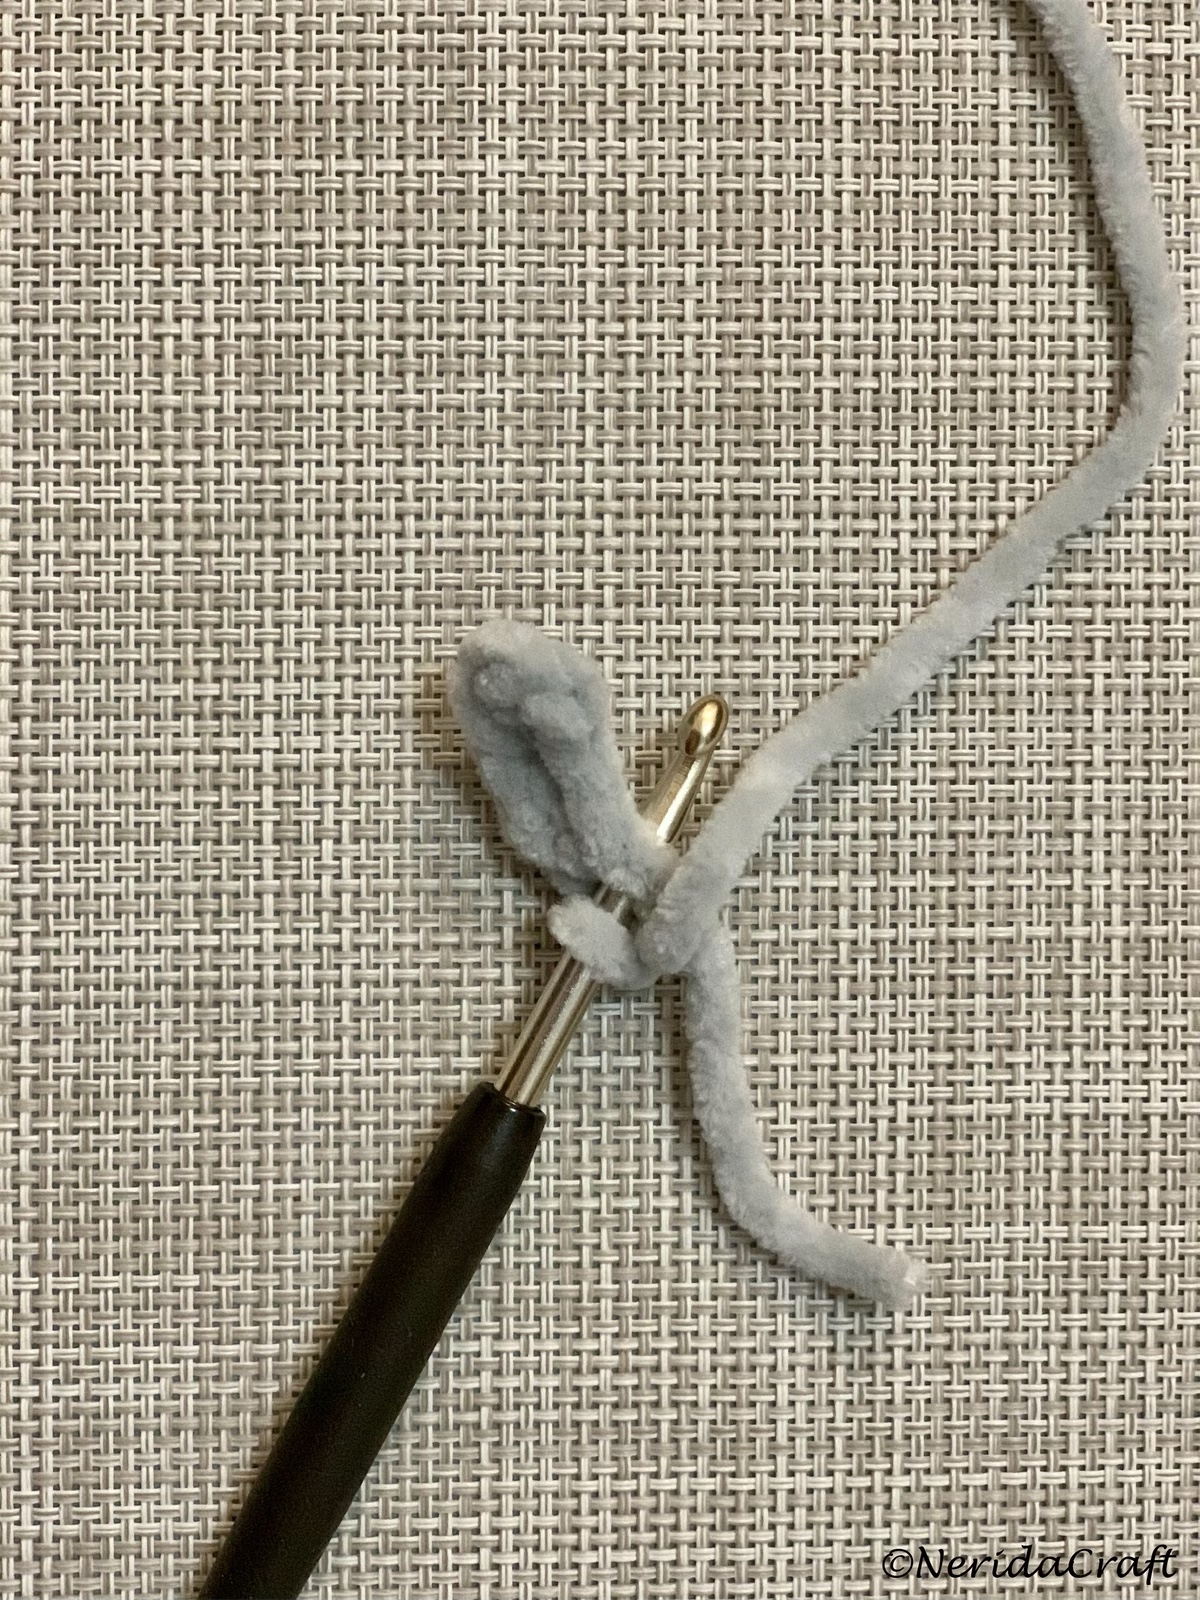
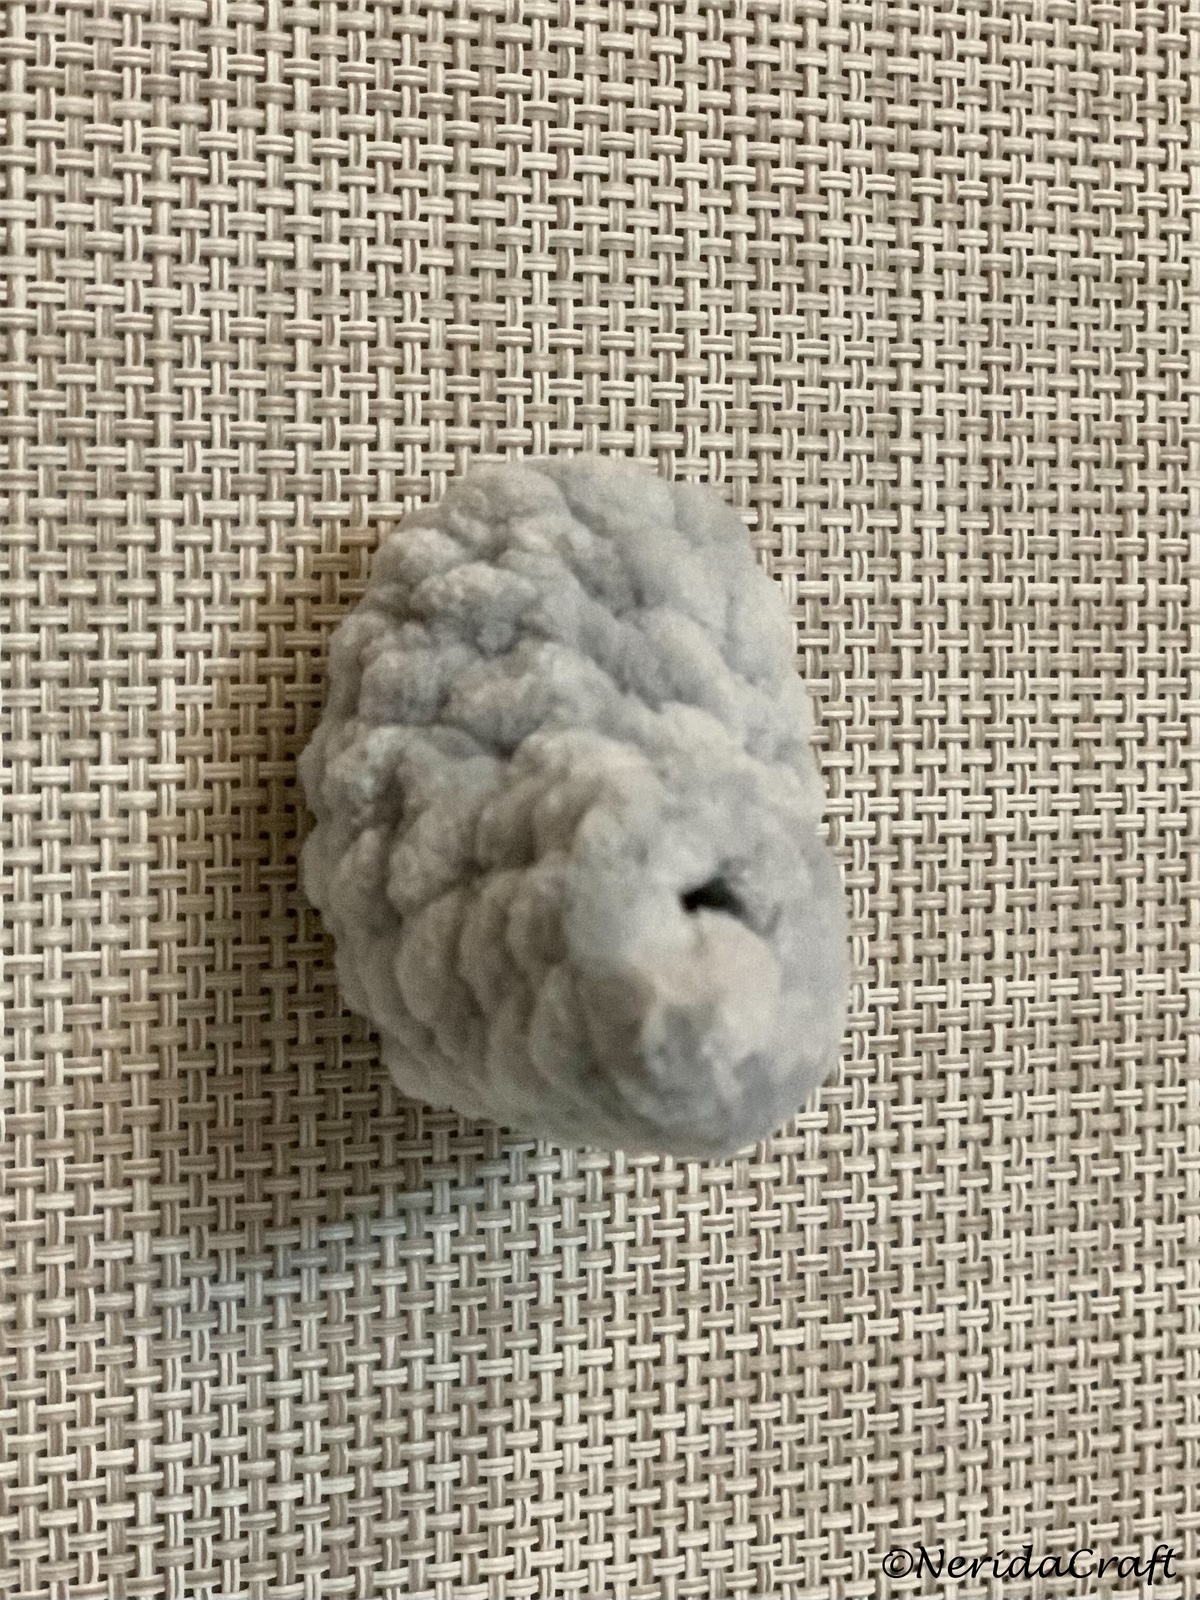
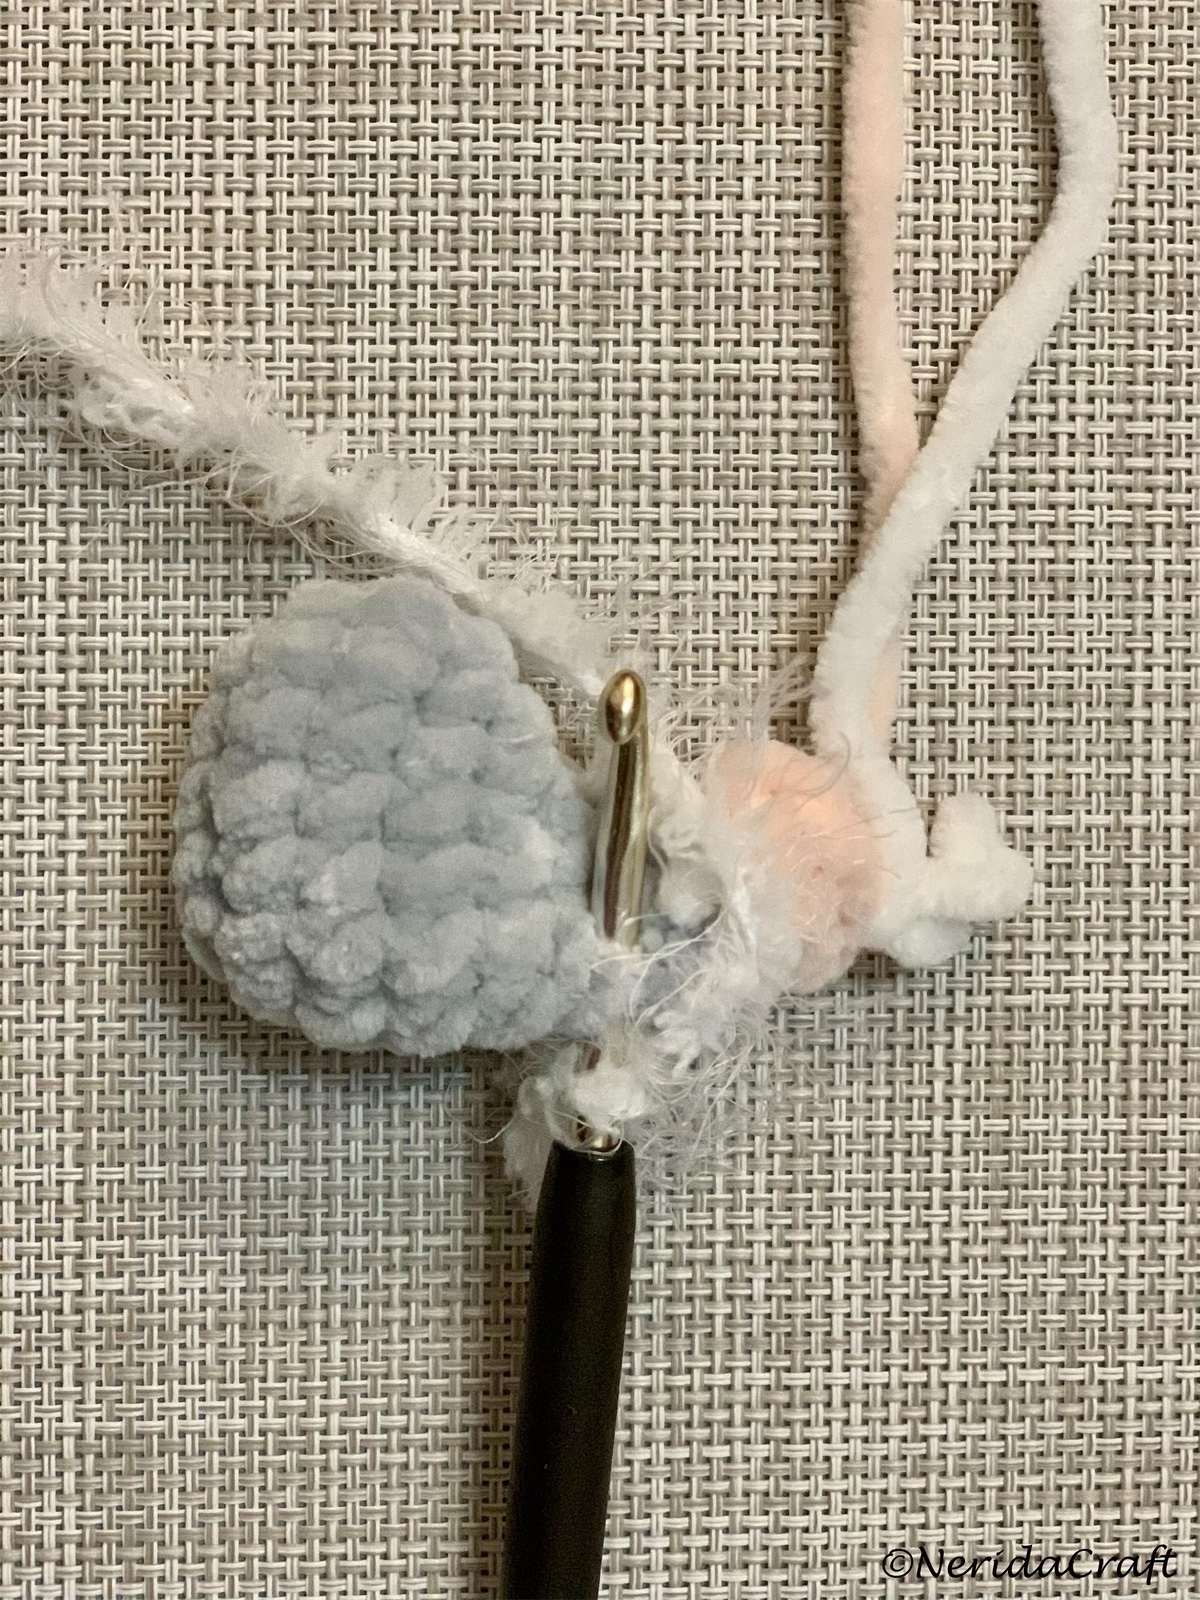
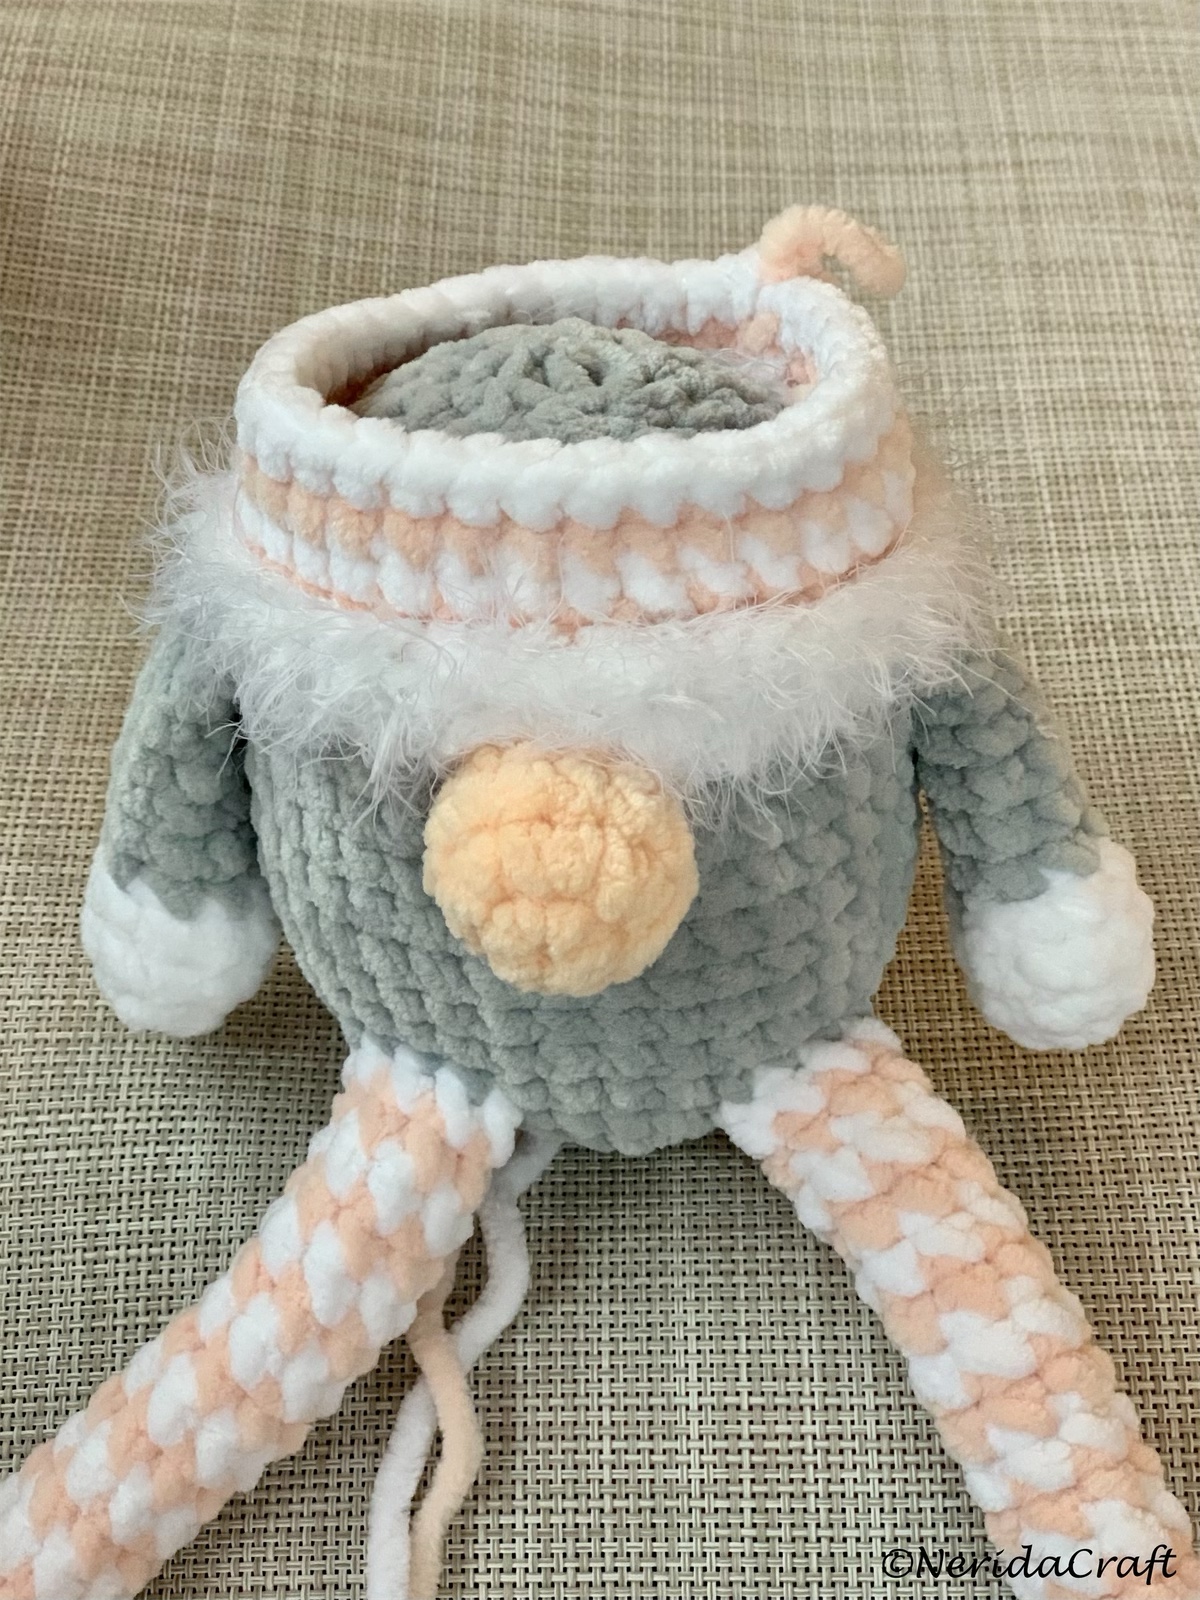
R11 (grey): stuff slightly, fold the piece in half, and close the hole with 4 sc’s, using both loops of the next stitch and the opposite stitch (see 2nd picture below).

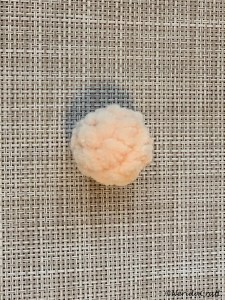
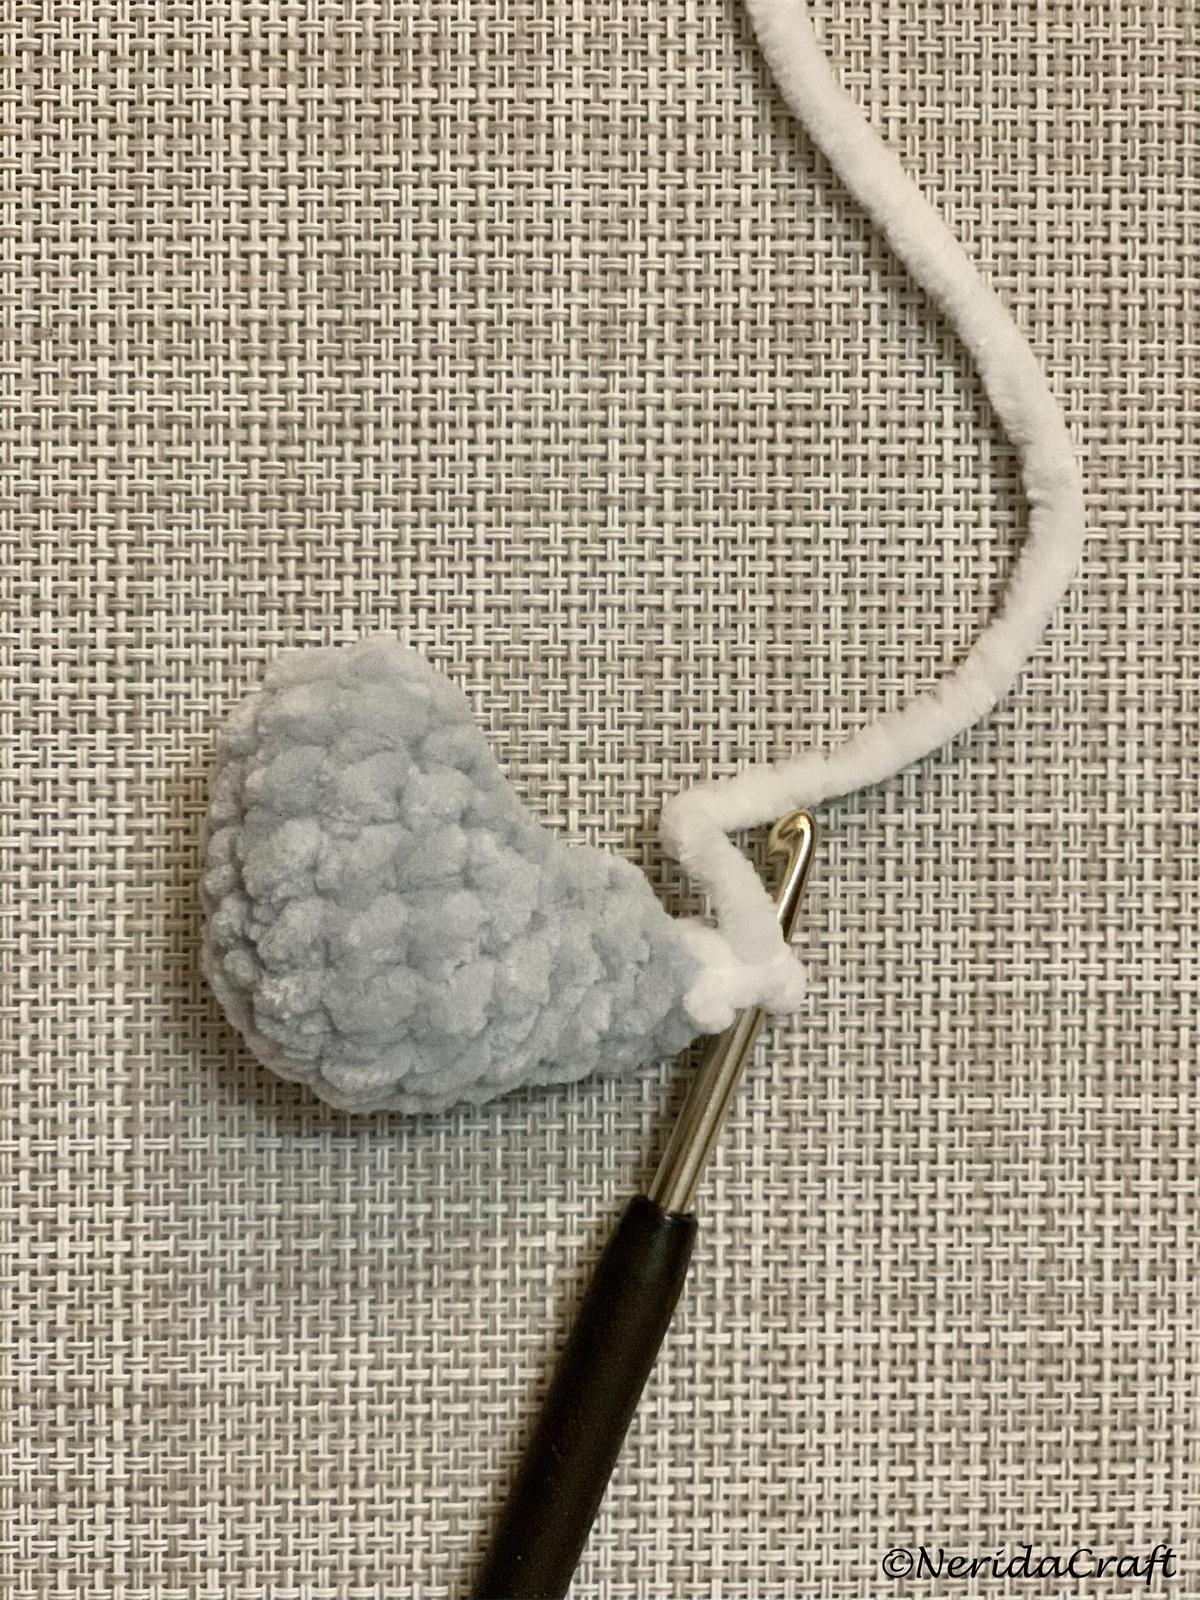
Nose (skin colour):
R1: ch 2 and make 6 sc in 2nd stitch from hook (6 sc)
R2: 6 sc inc (12 sc)
R3: 12 sc (12 sc)
R4: 6 sc dec (6 sc)
Insert a small amount of stuffing and fasten off.
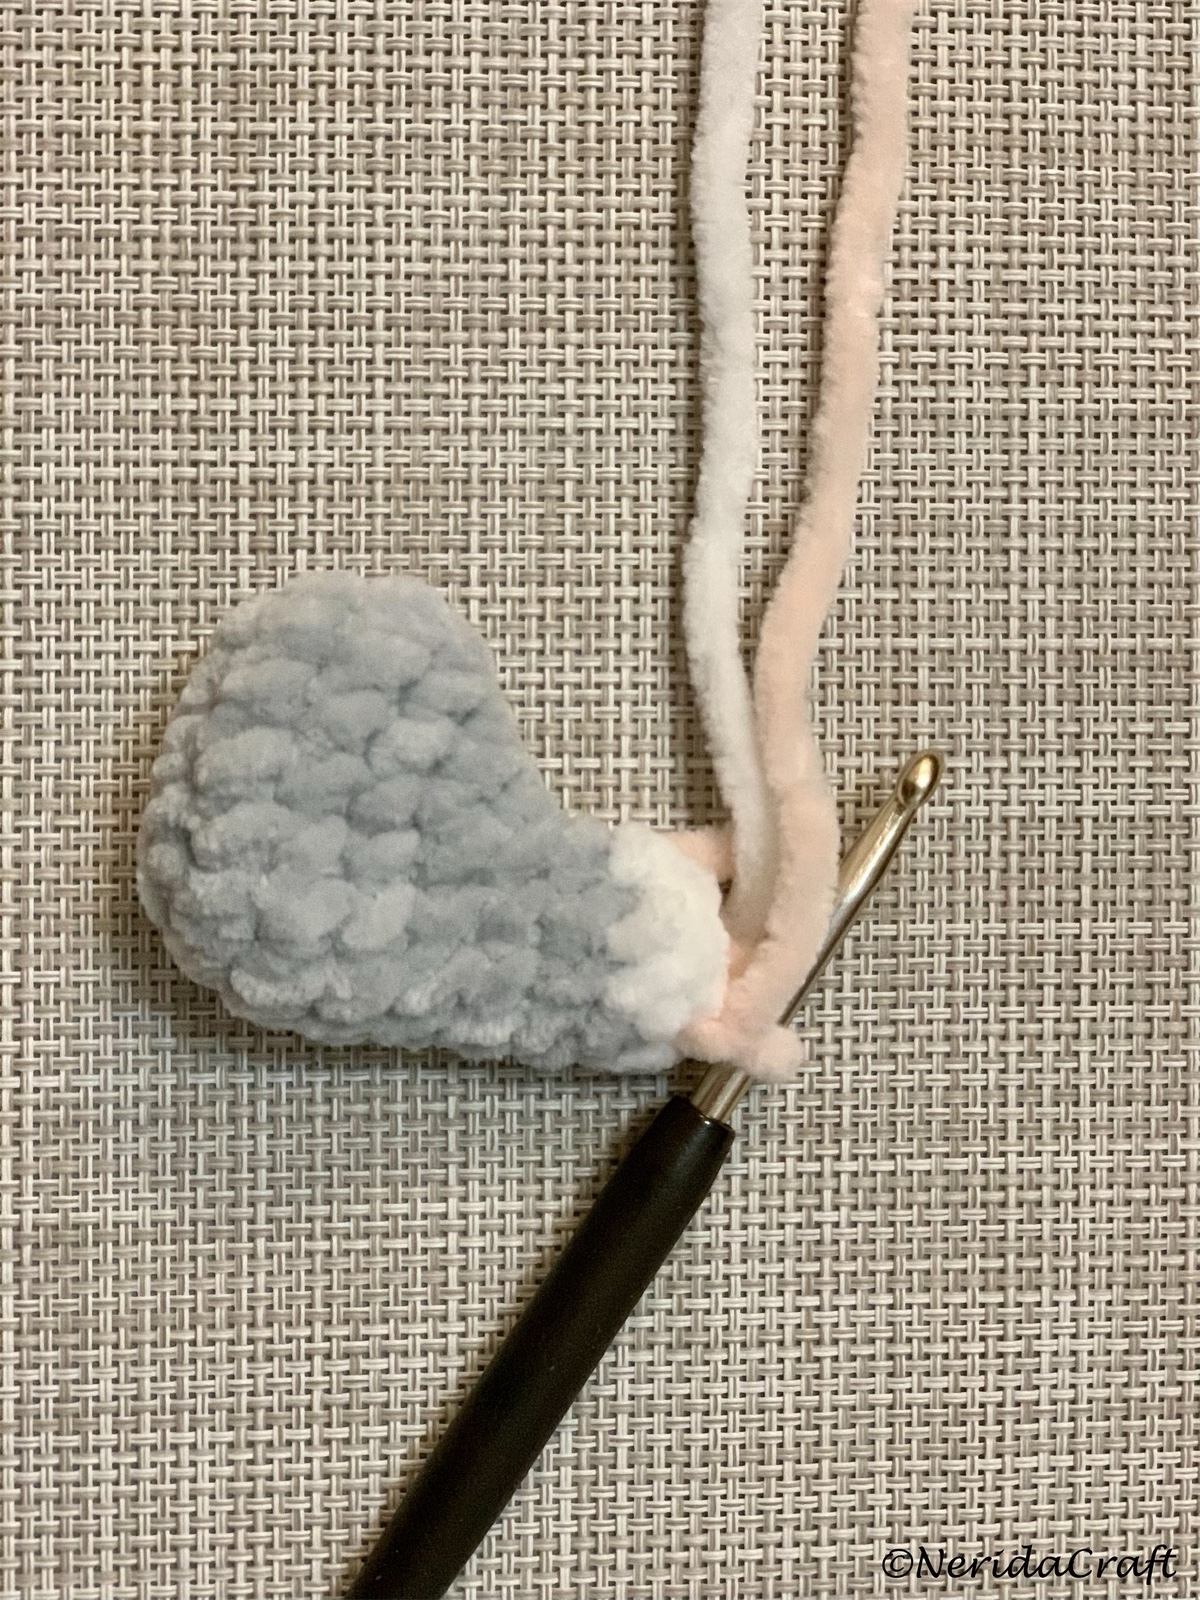
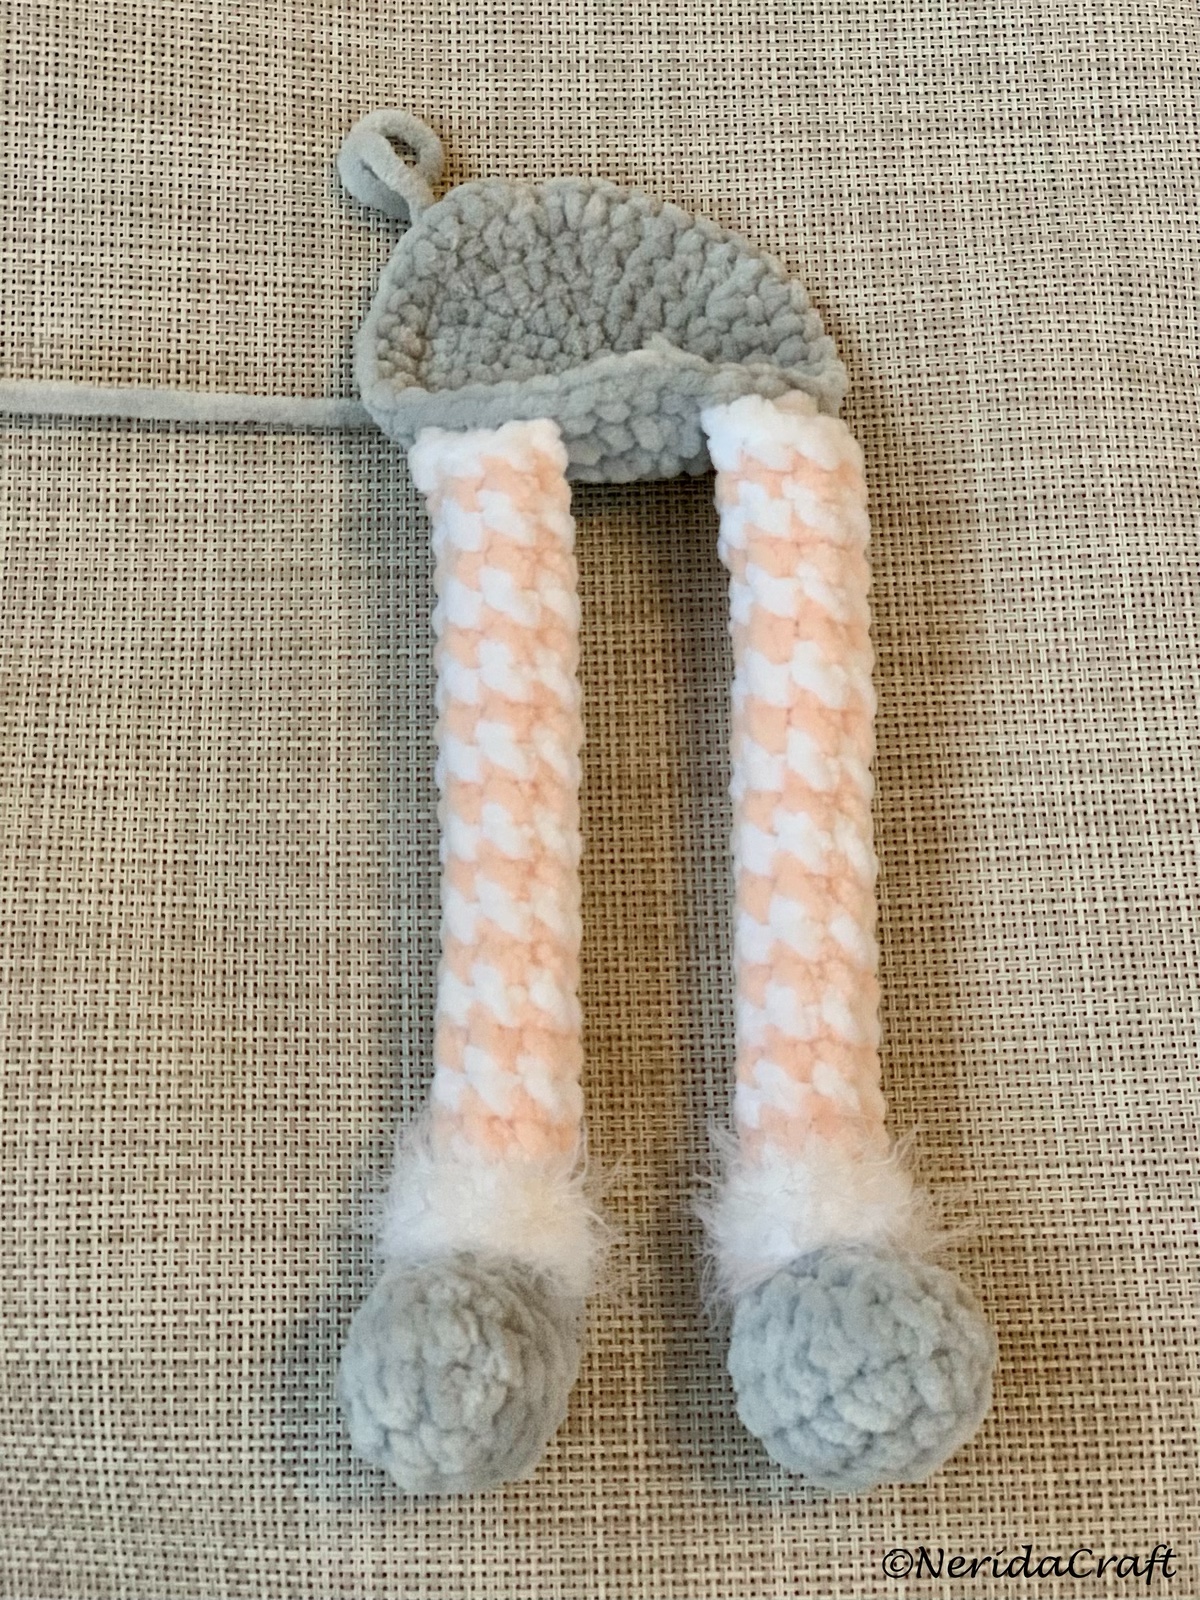
Legs (make 2):
R1: ch 5, start from 2nd stitch from hook (use the 3rd loops of the chain stitches), and crochet this chain around: make sc inc, 2 sc, sc inc, continue on the other side and do the same: sc inc, 2 sc, sc inc (12 sc)
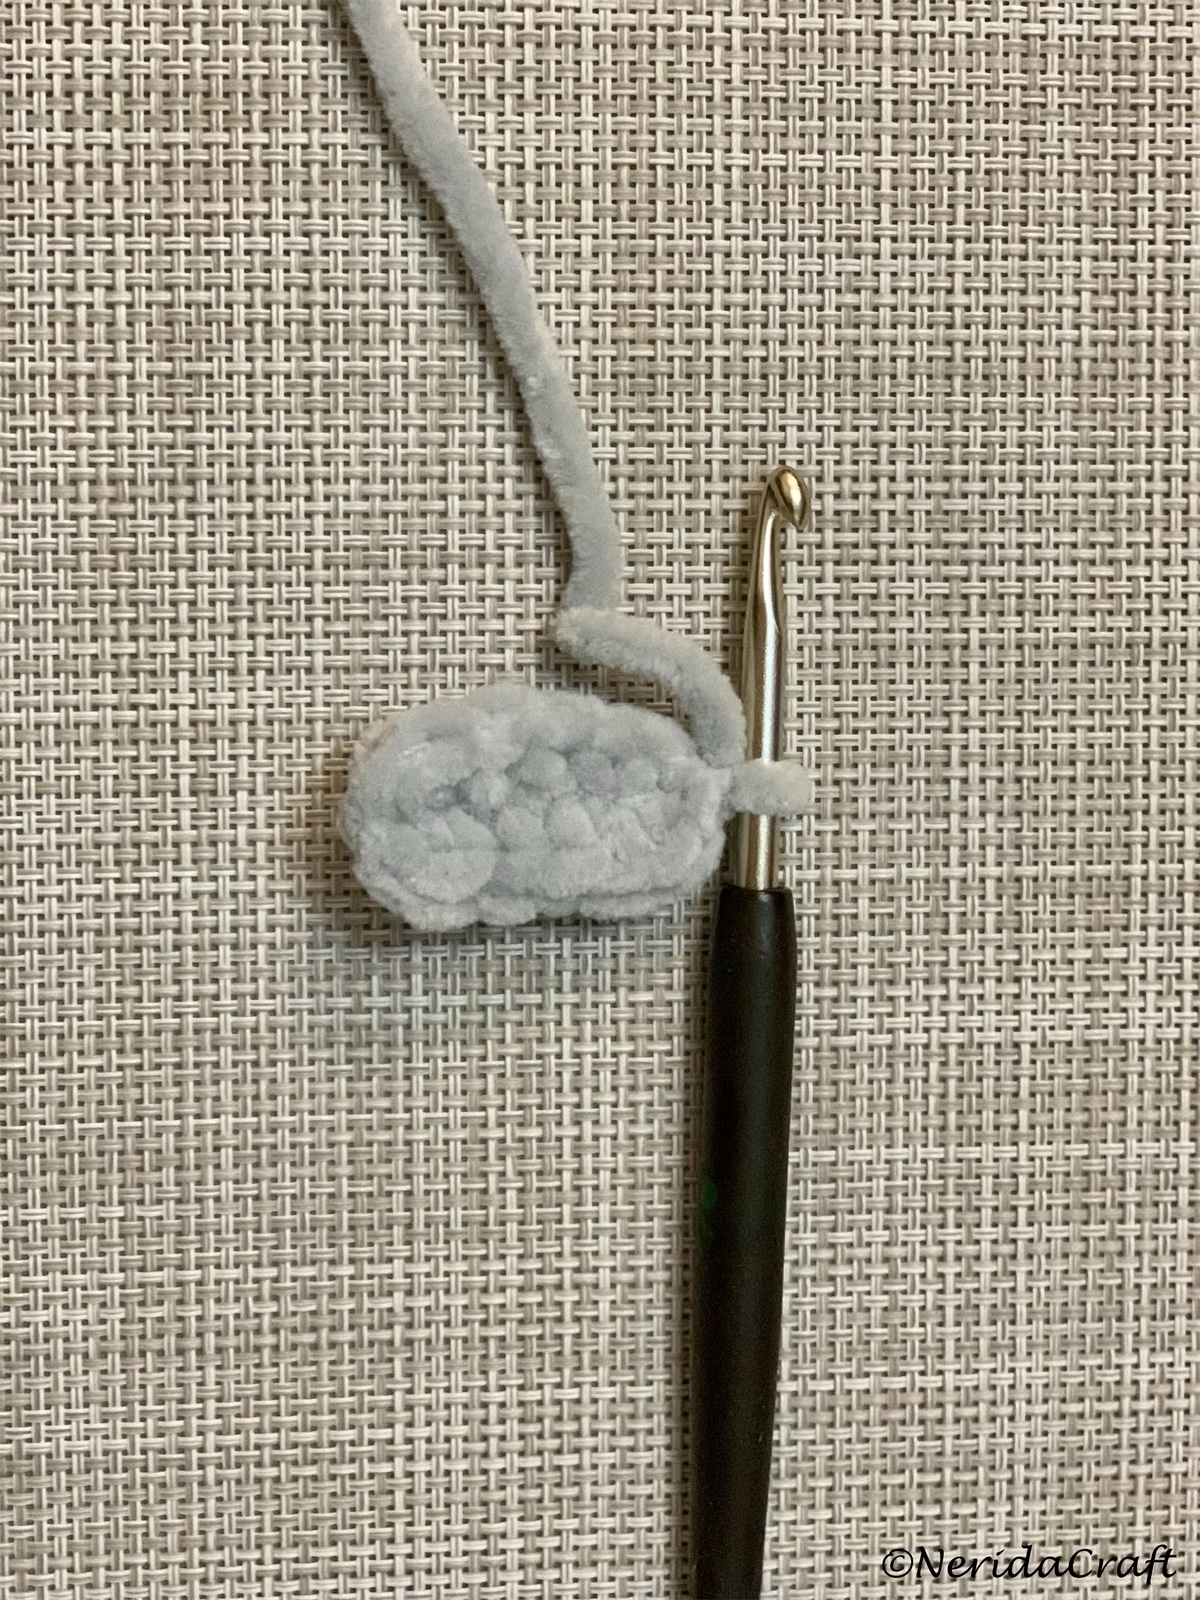
R2: (sc inc, 4 sc, sc inc) x 2 (16 sc)
R3: 16 sc (16 sc)
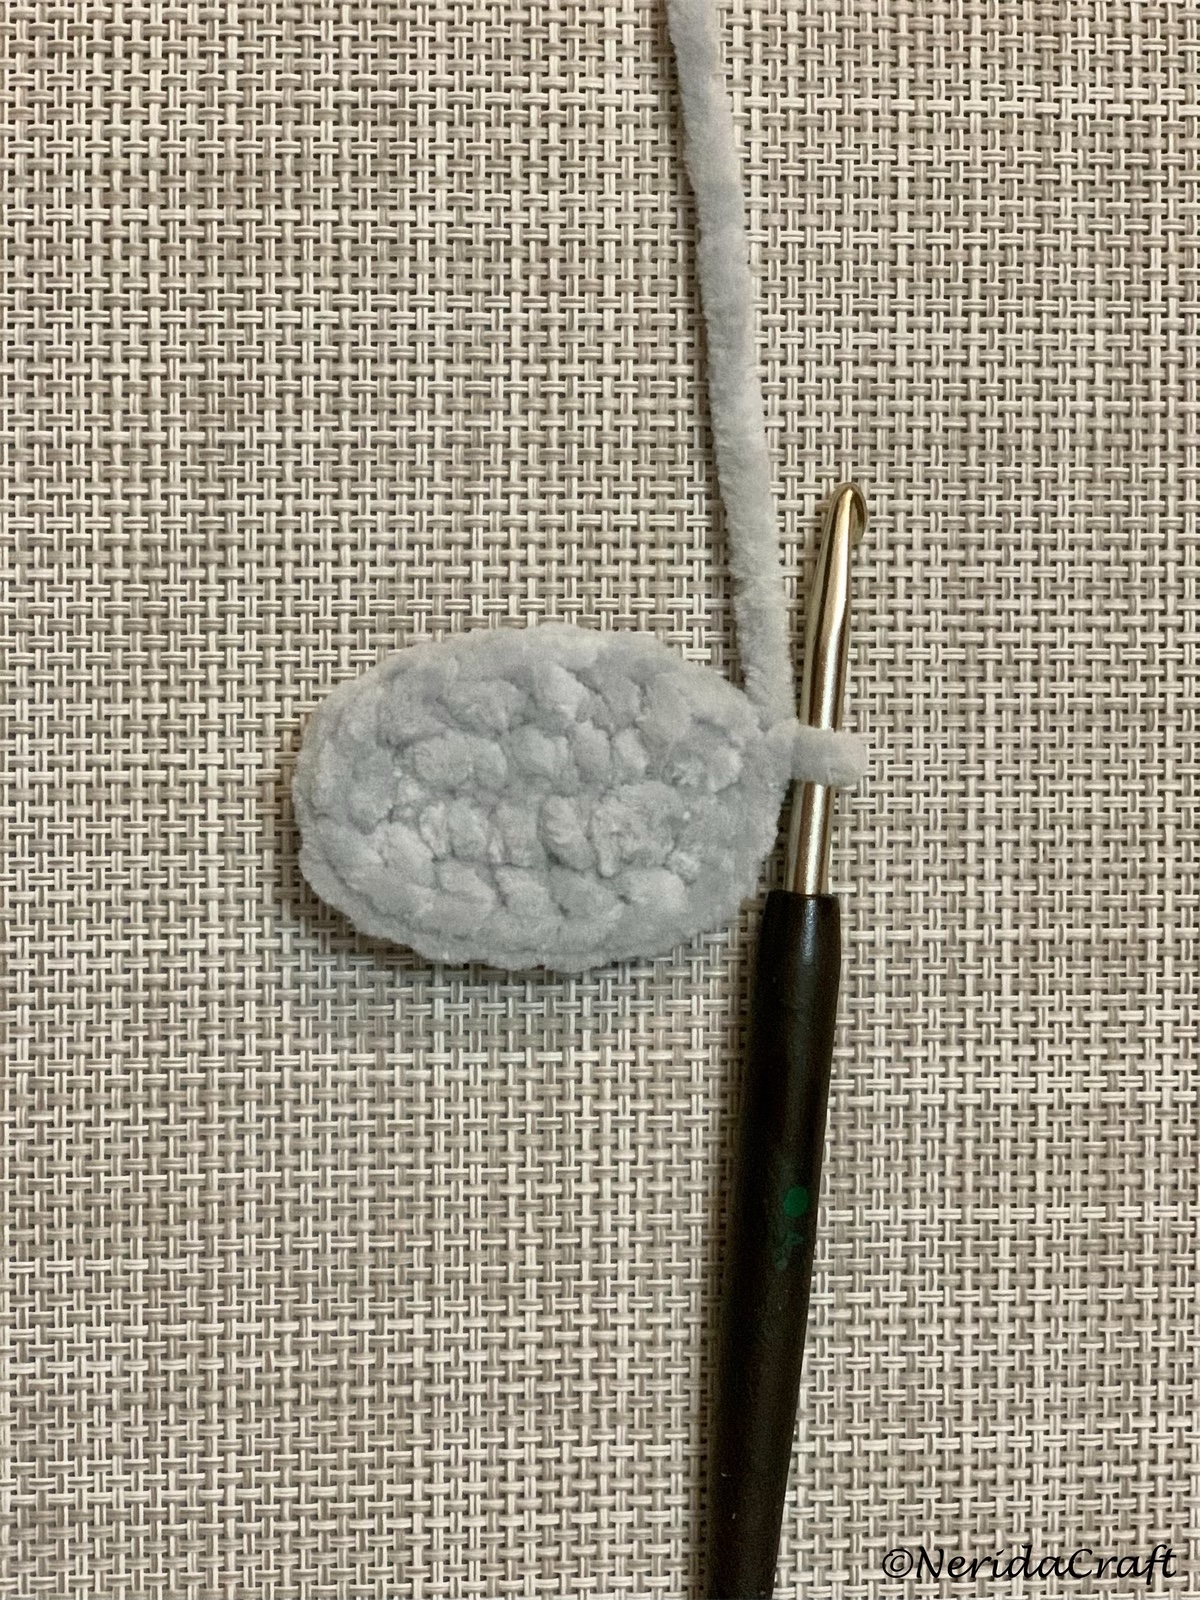
R4: 5 sc, 3 sc dec, 5 sc (13 sc)
R5: 2 sc, 4 sc dec, 3 sc (9 sc)
R6: 2 sc, 2 sc dec, 3 sc (7 sc)
R7: 7 sc, stuff (7 sc)
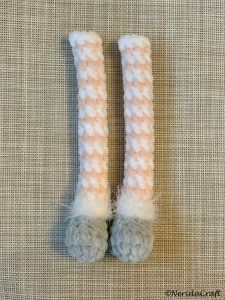
Change colour to red, and change to white / back to red after 2 rounds continuously. For the pink gnomes on the picture above I changed colour in every round.
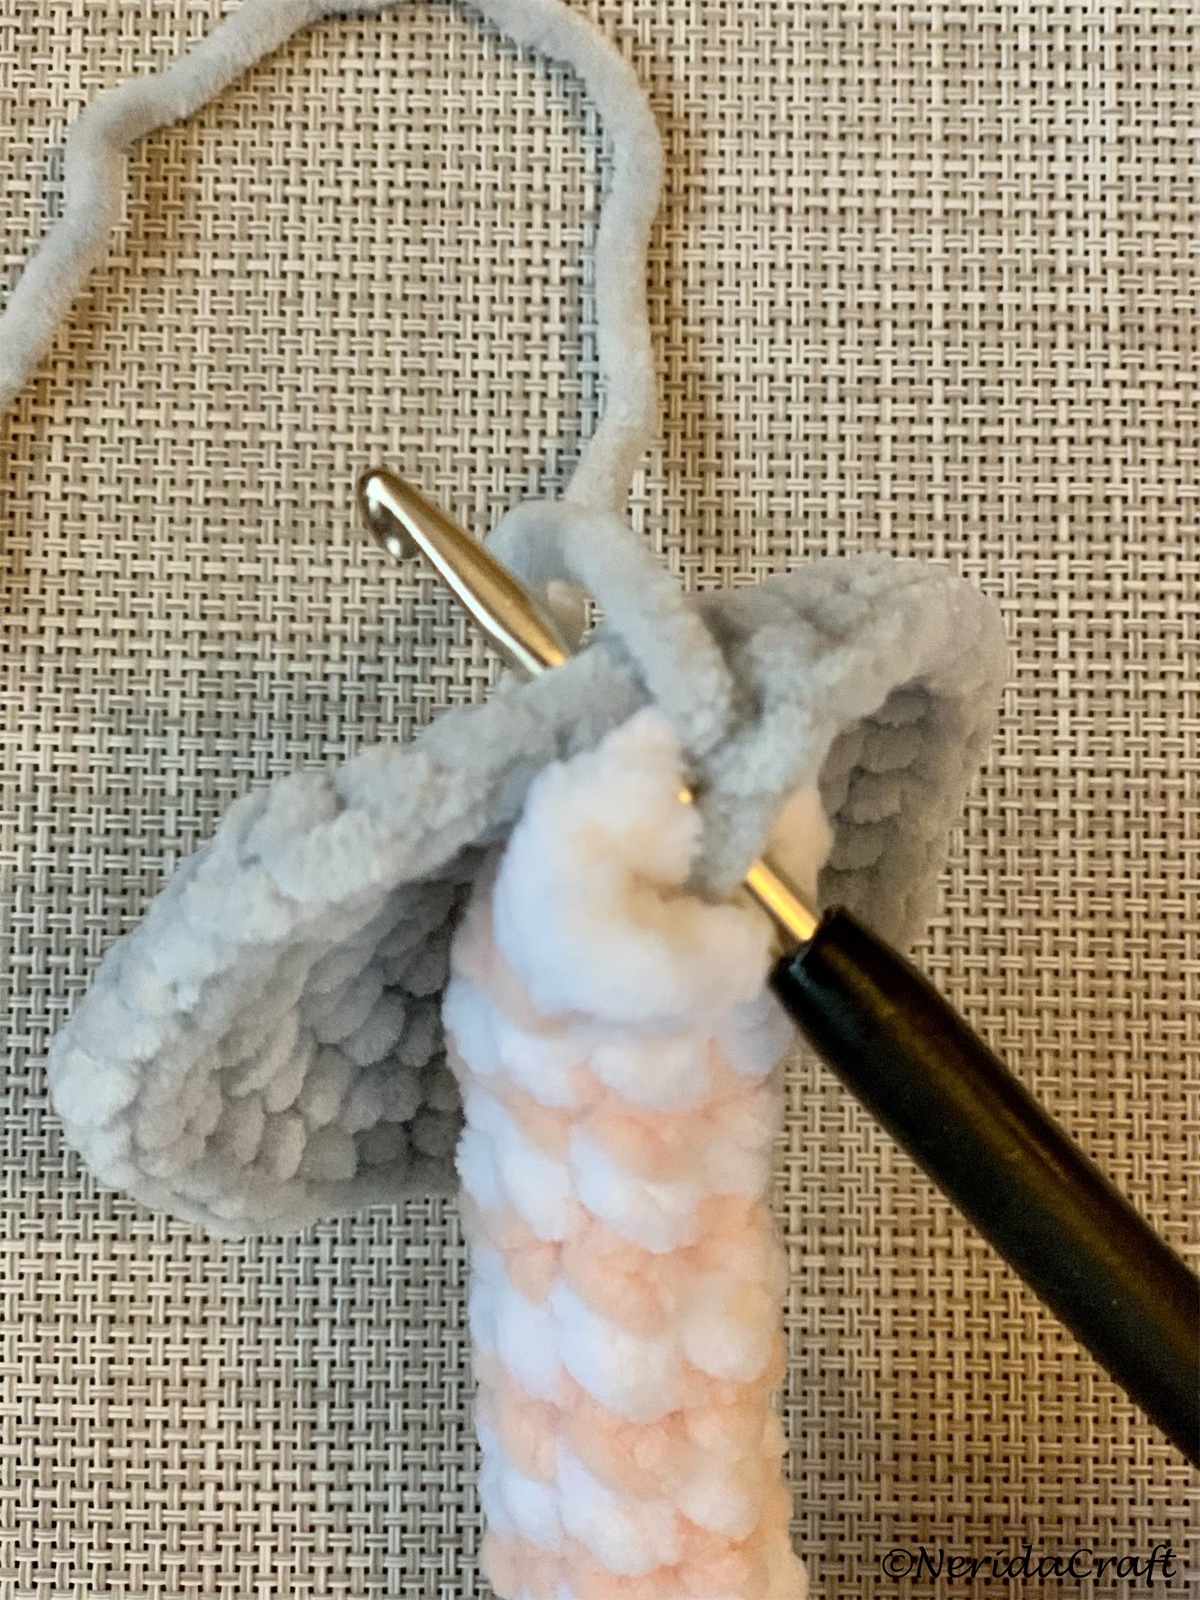
After crocheting 2 rounds, make 2 rounds of surface sc’s to R6 and R7 with fury yarn:
Continue crocheting the leg, change the colours as decided, and stuff continuously.
R8- R25 (pink/white): 7 sc (7 sc – 18 rounds)
R26: (pink): 6 sc, sc inc (8 sc), fasten off.
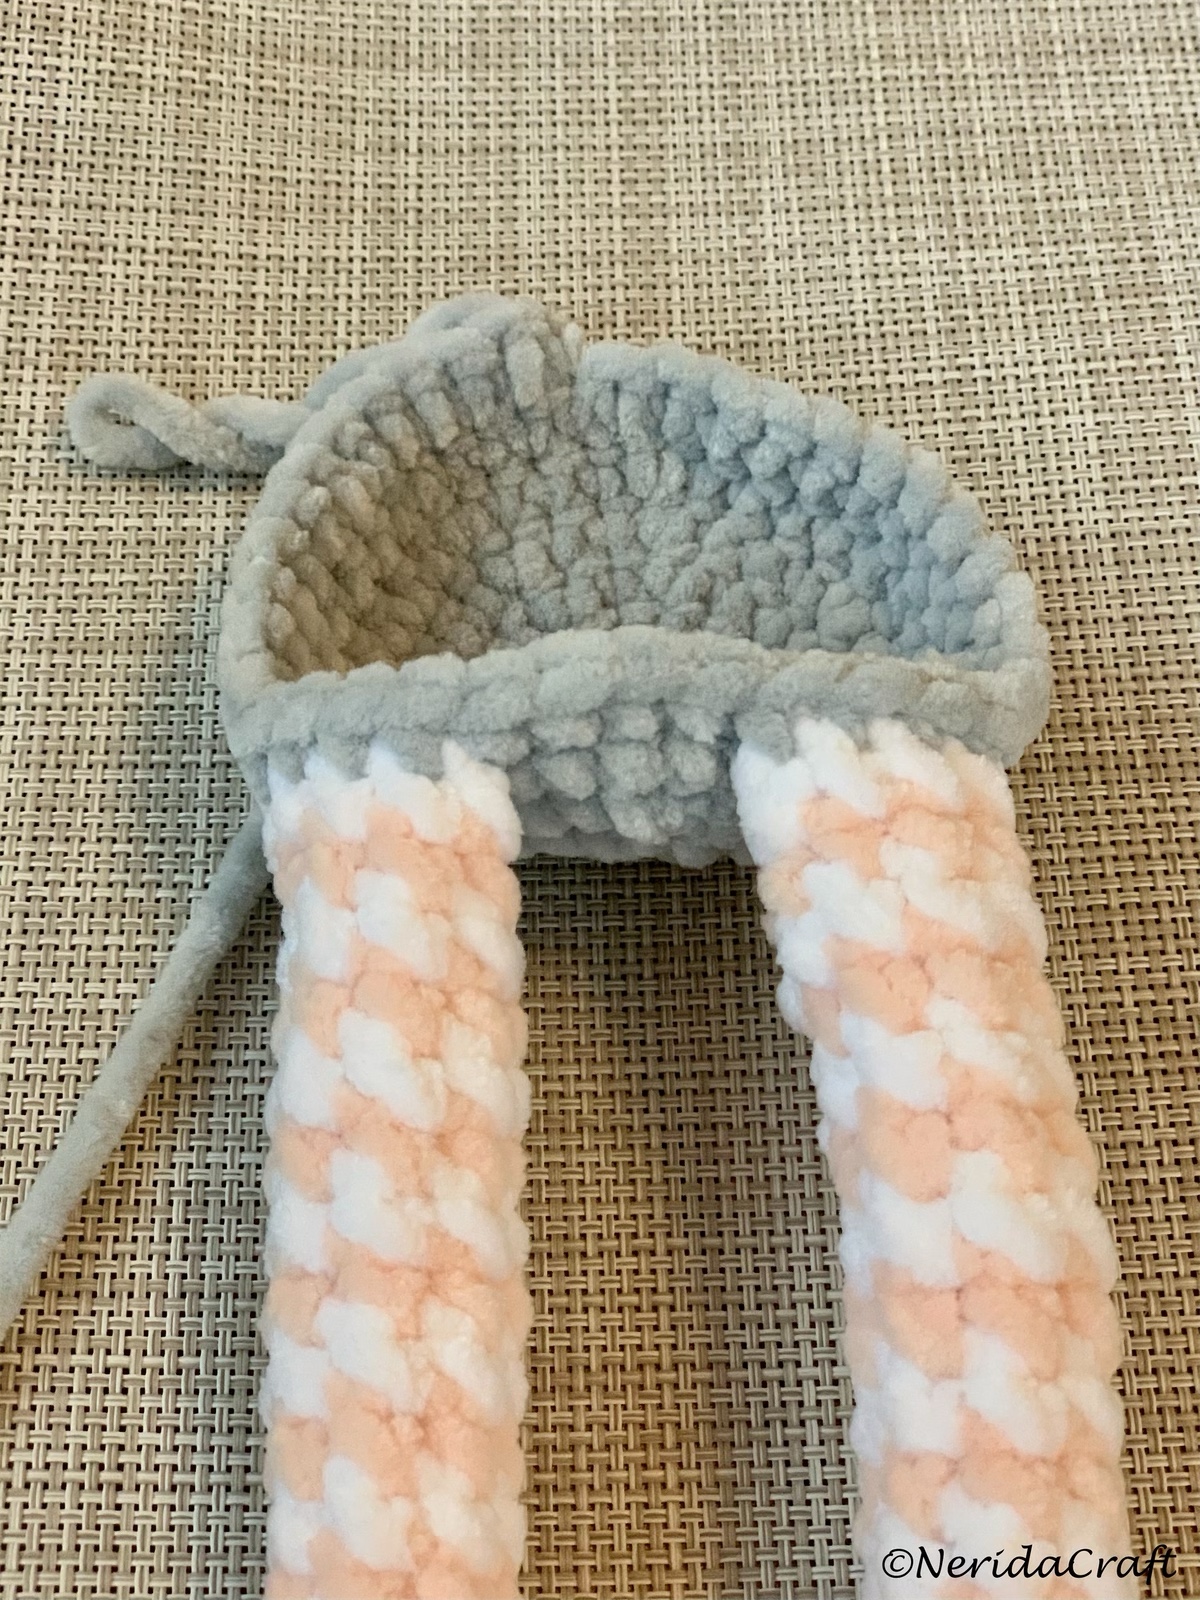
Body (grey):
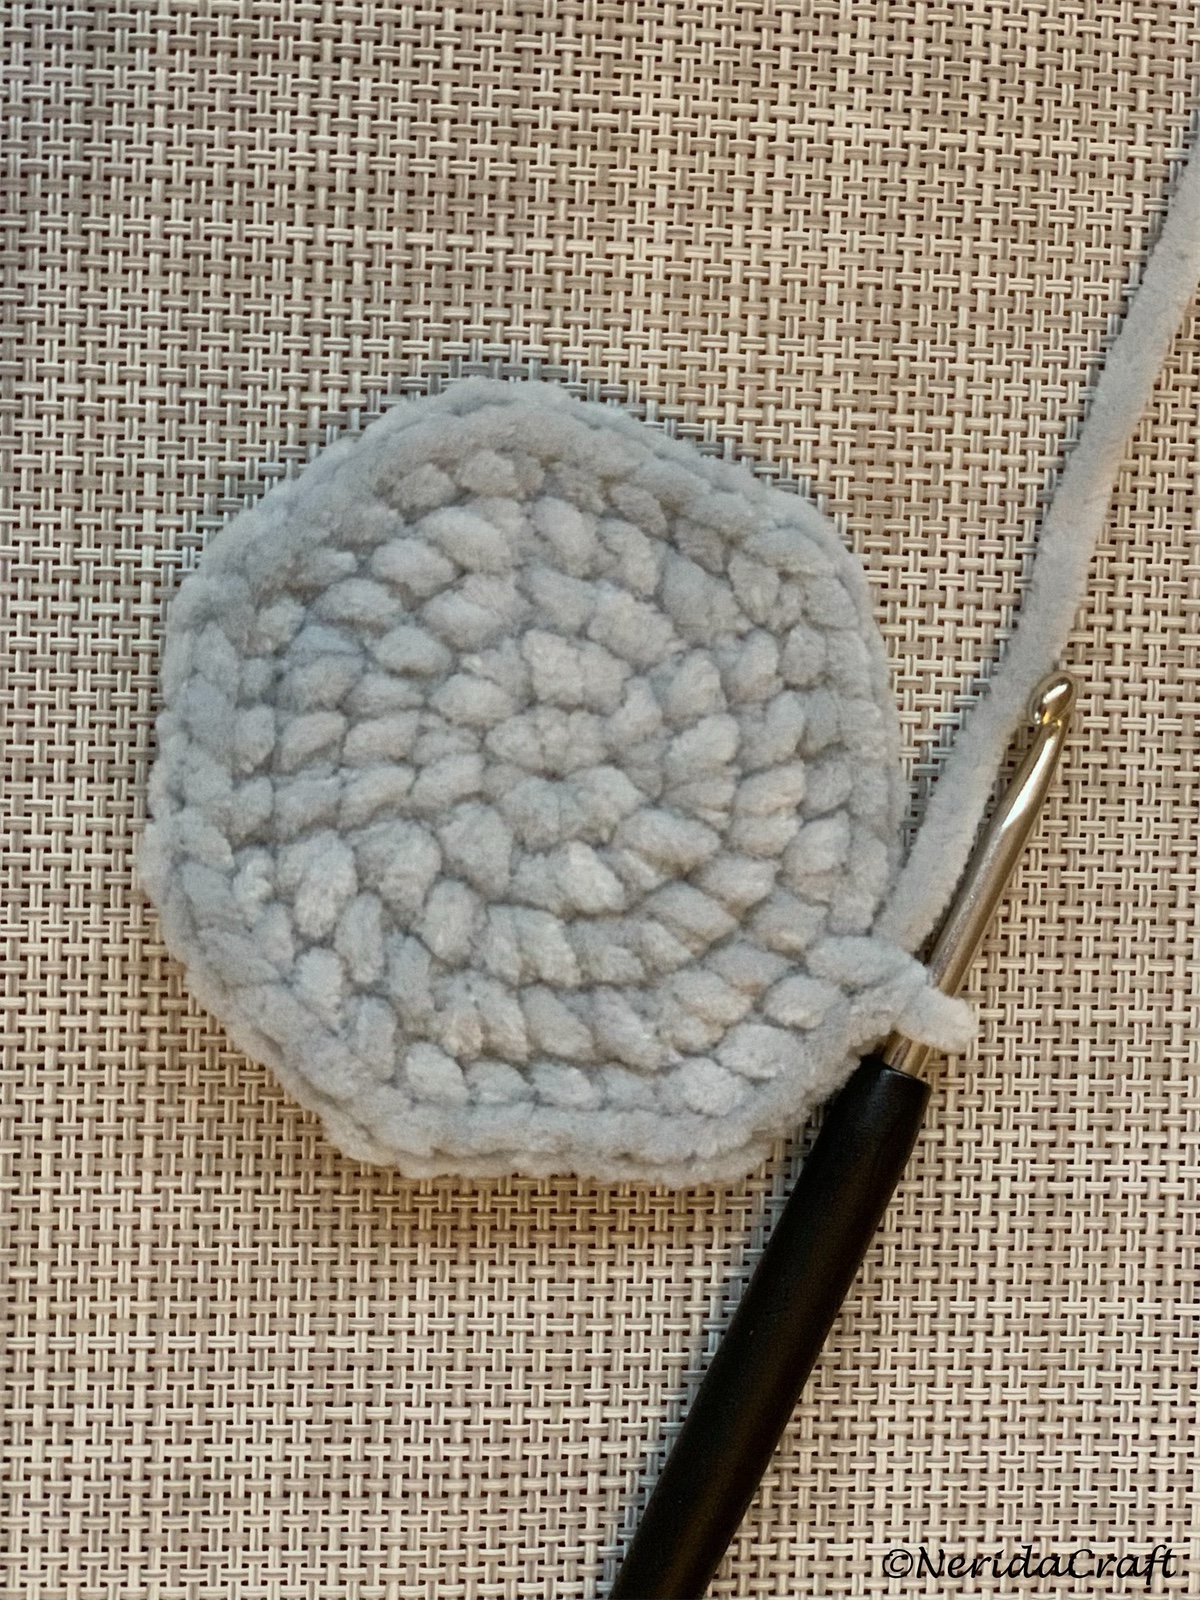
R1: ch 2 and make 7 sc in 2nd stitch from hook (7 sc)
R2: 7 sc inc (14 sc)
R3: (sc inc, sc) x 7 (21 sc)
R4: (sc inc, 2 sc) x 7 (28 sc)
R5: (sc inc, 3 sc) x 7 (35 sc)
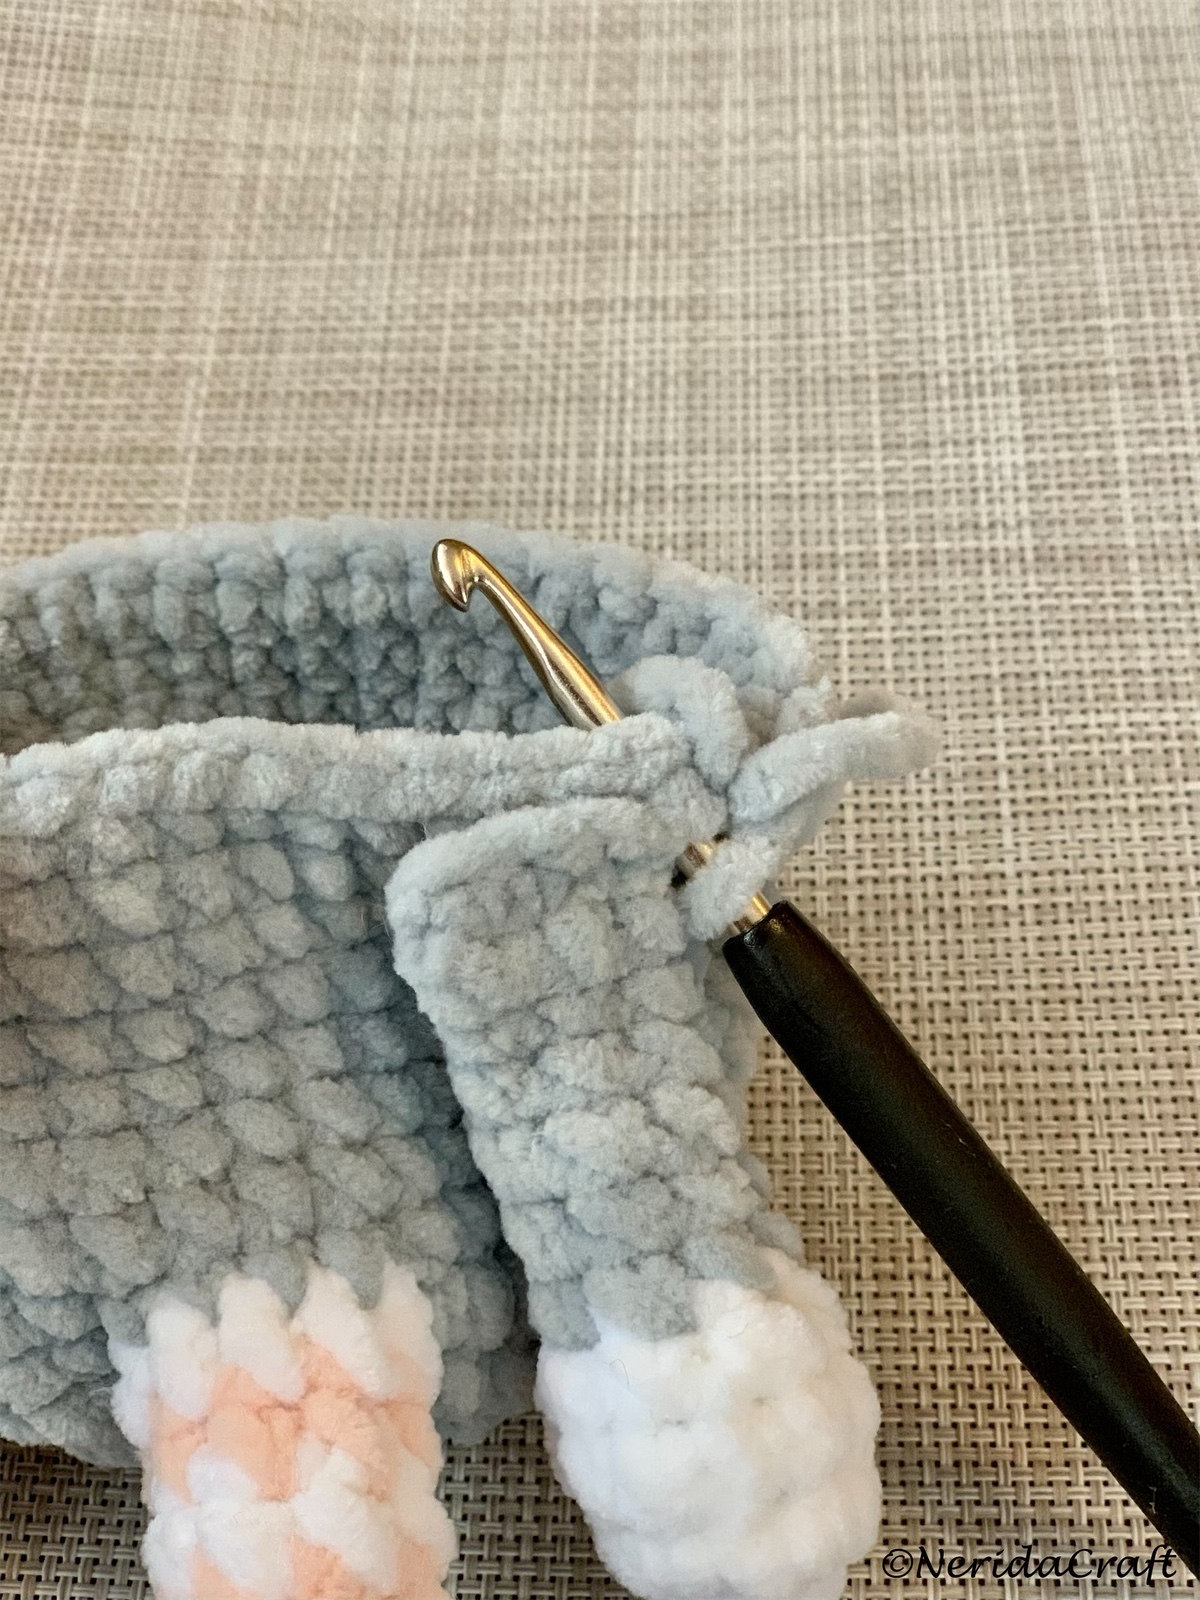
R6: sc, sc inc, 9 sc, take the first leg, and crochet the next 4 sc stitches with the stitches of the leg together (insert hook from inside to outside of the leg – both loops – and the next stitch of the body – both loops – and make an sc), make sure the foot is facing straight, see below pictures. Make 4 sc, then crochet the next 4 sc together with the secound leg (same way as the first leg), 12 sc (36 sc)
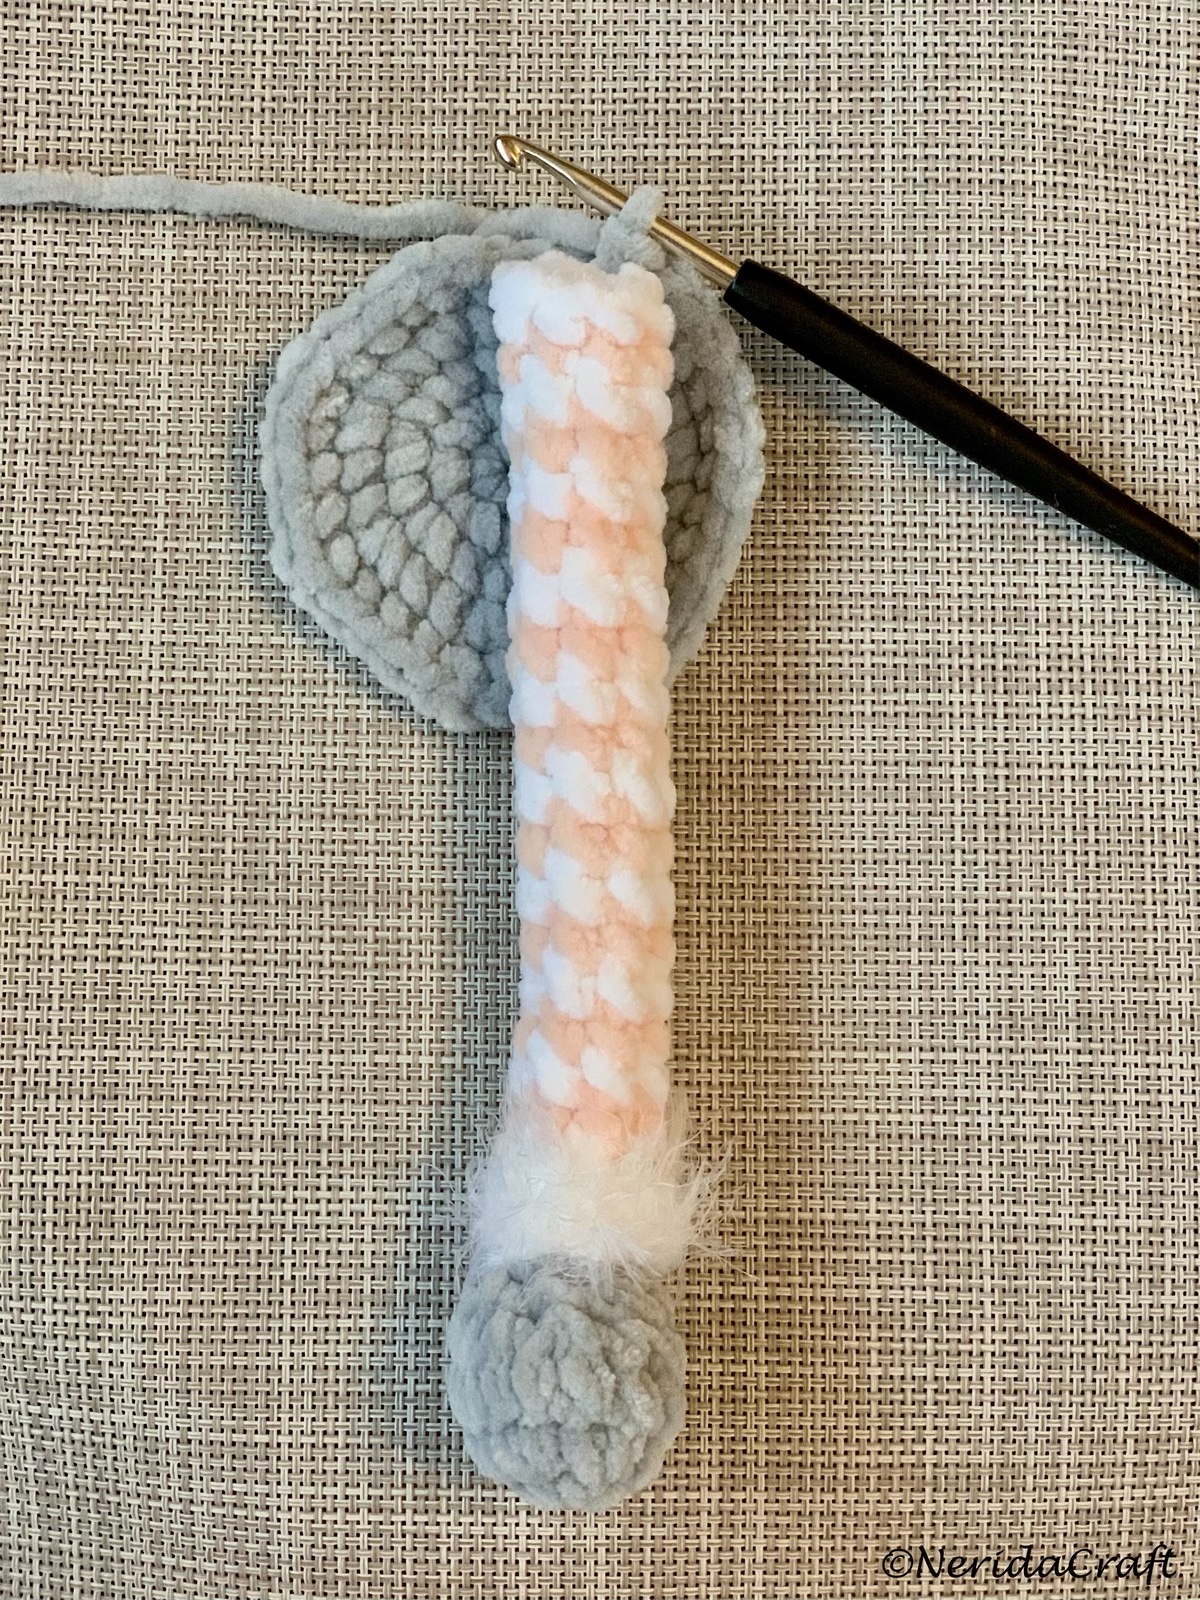
R7: 12 sc, crochet the next 4 sc with the remaining stitches of the leg (insert hook to the first unworked stitch of the leg from outside to inside, and the next stitch of the body, and make an sc), 4 sc, 4 sc together withe second leg (same way as the first leg), 12 sc, see pictures below (36 sc)

R8 – R13: 36 sc (36 sc)
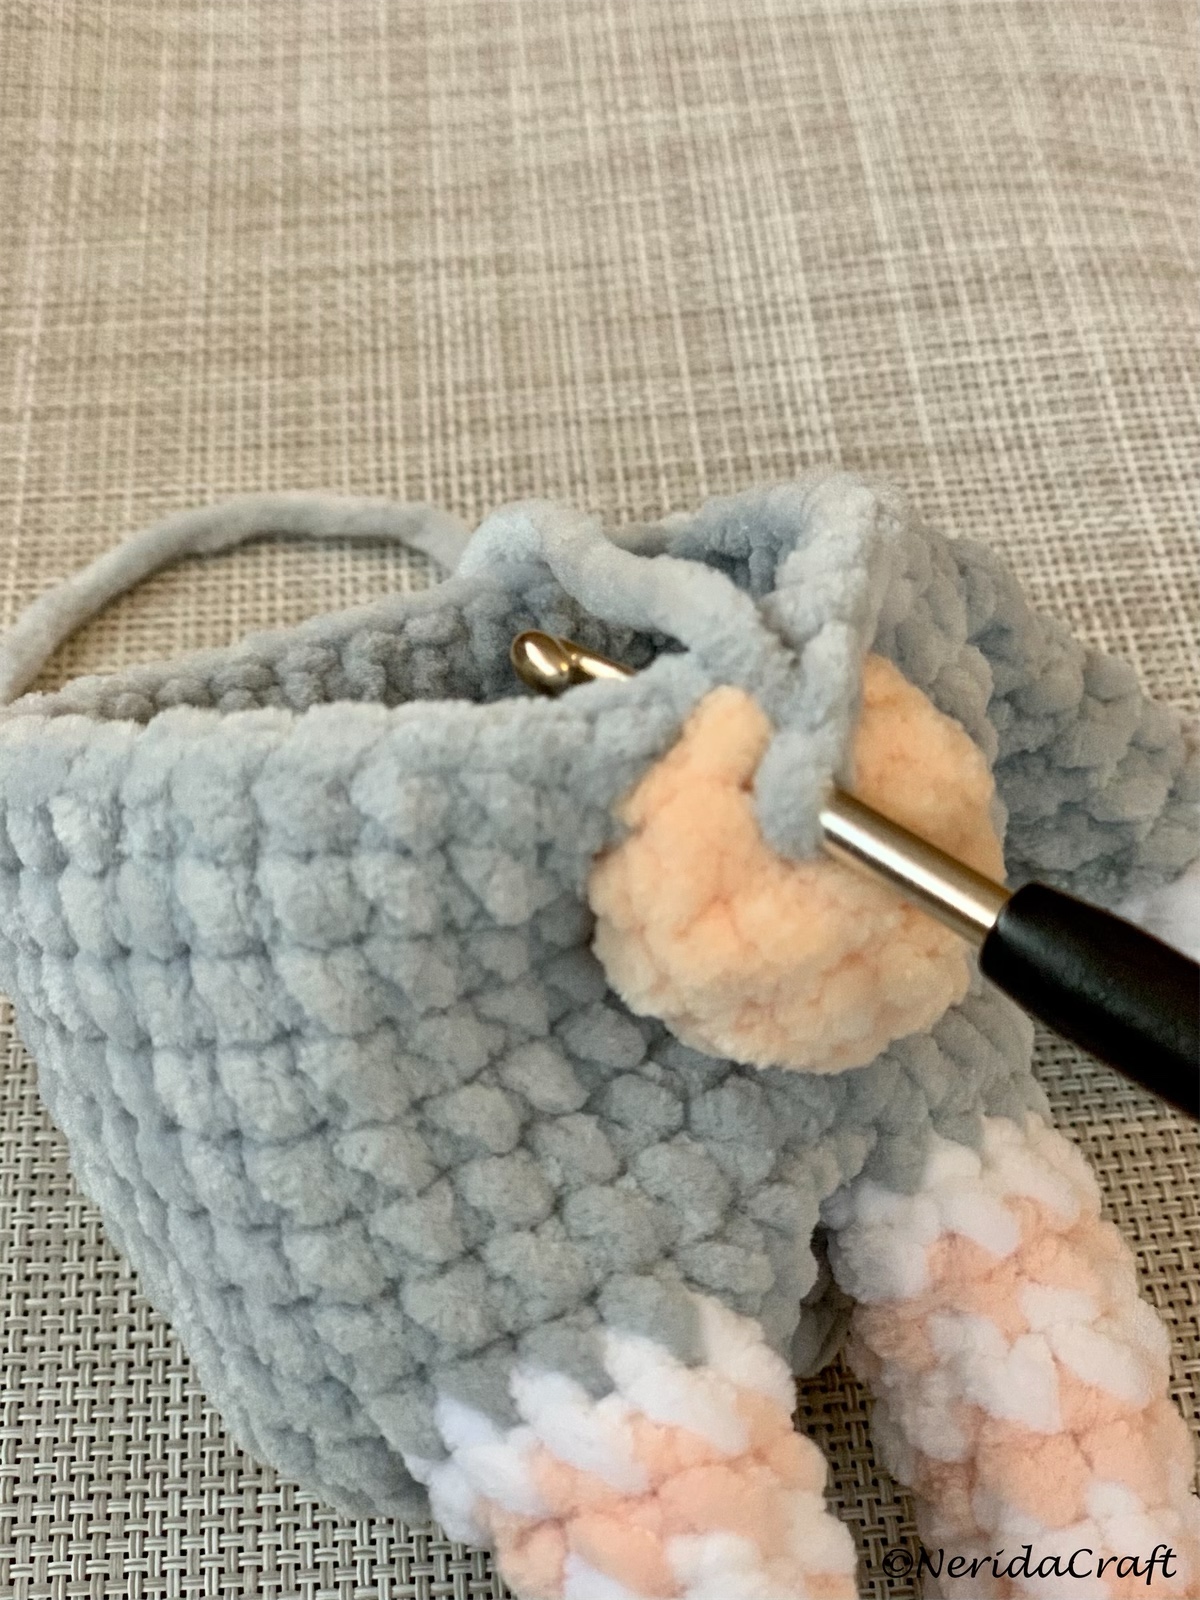
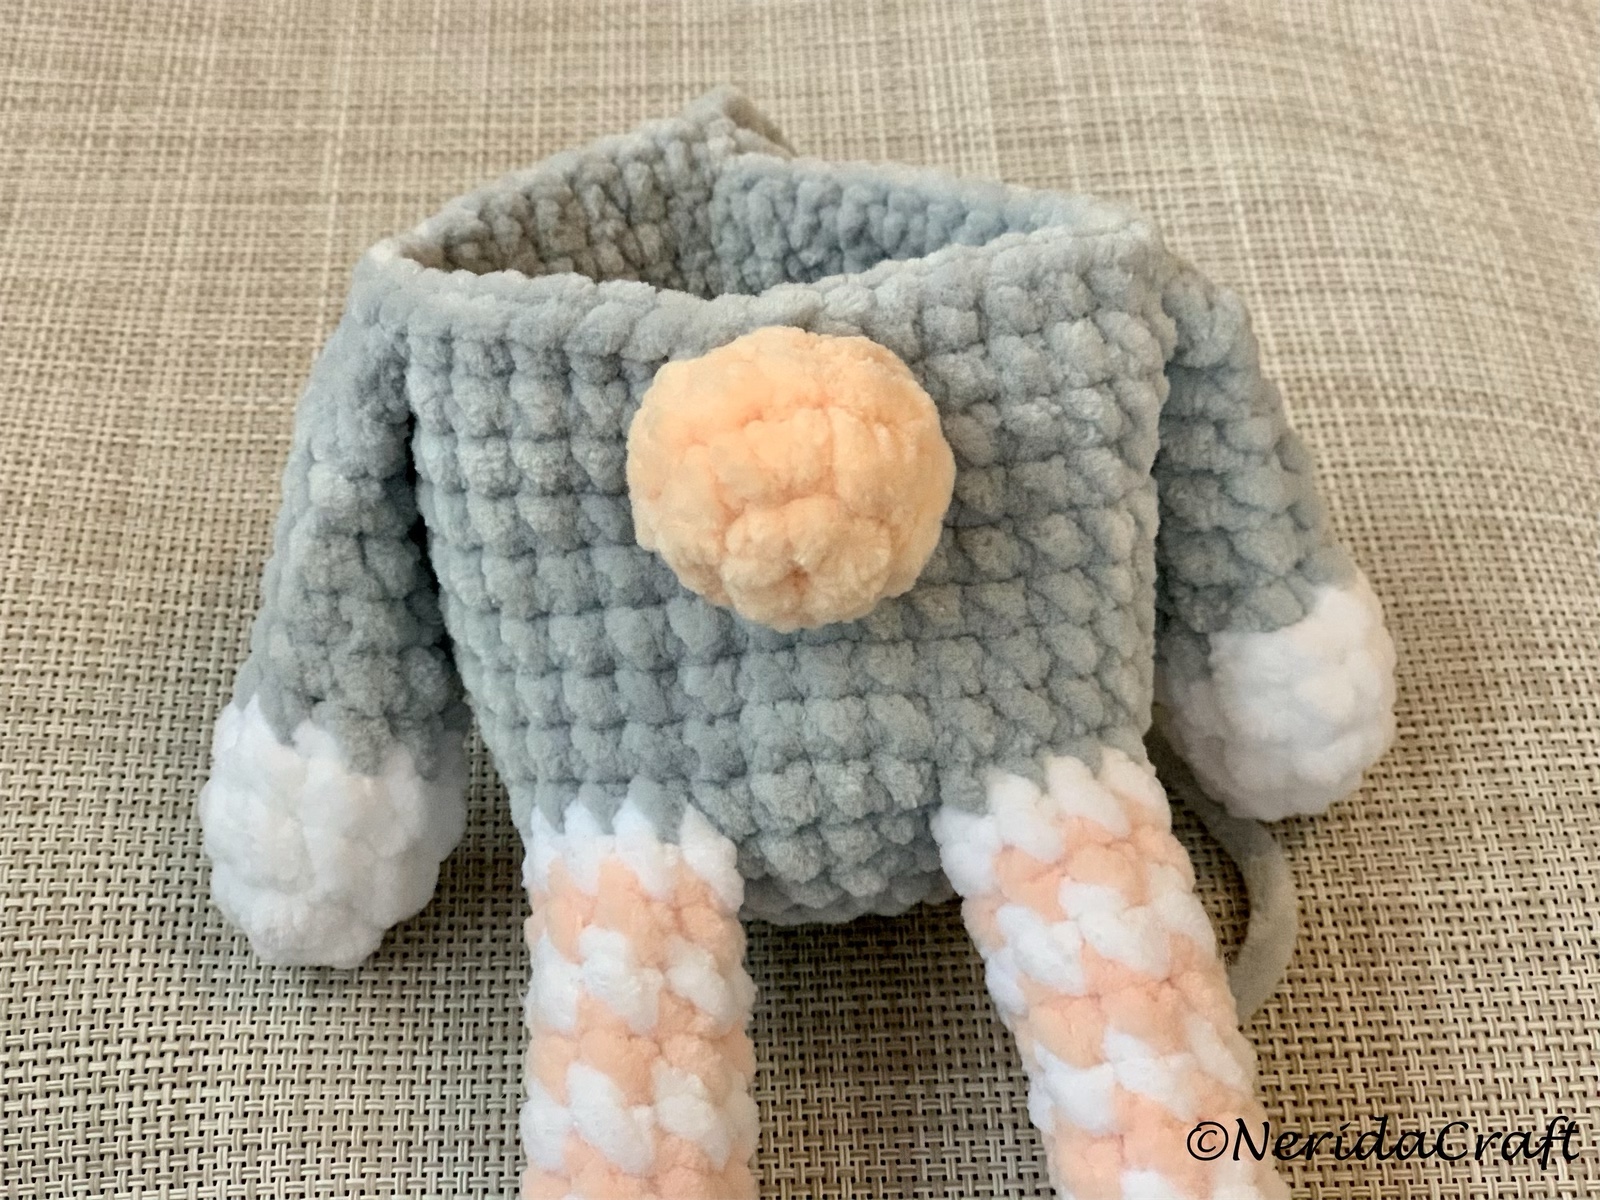
R14: 16 sc, 4 sc together with 4 stitches of the nose (same way as for the legs), 16 sc (36 sc)
R15: 7 sc, 4 sc with the first arm (using both loops of the arm and both loops of next stitch of the body), 6 sc, 2 sc with the remaining stitches of the nose (same way as did with the legs), 6 sc, 4 sc with the second arm, 7 sc, see pictures below. (36)

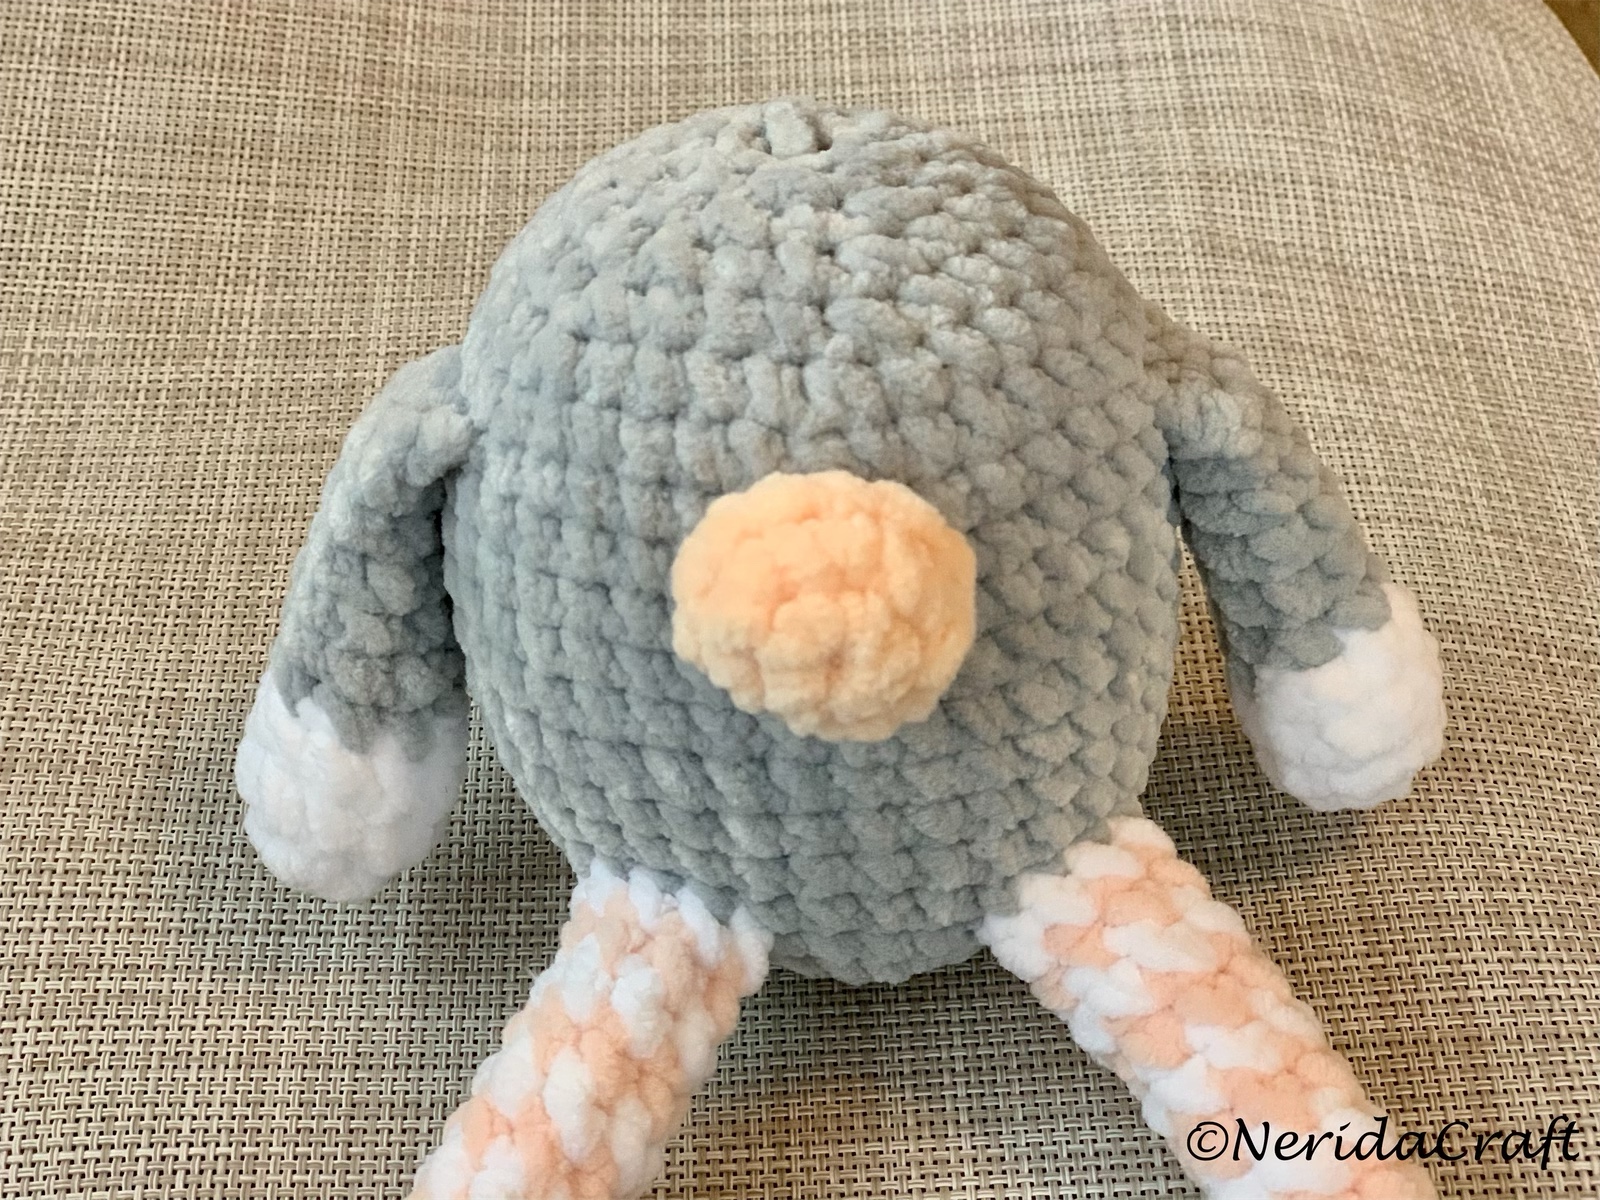
R16: 36 sc, start stuffing the body (36 sc)
R17: (4 sc, sc dec) x 6 (30 sc)
R18: (3 sc, sc dec) x 6 (24 sc)
R19: (2 sc, sc dec) x 6 (18 sc)
R20: (sc, sc dec) x 6 (12 sc)
R21: 6 sc dec (6 sc)
Hat:
Start crocheting the hat, with a knot on hook, make surface sc stitches around the body, between R14 and R15. Start in the stitch right before the first arm, and after the second arm, stitch one round lower (to finish where started – needed as body was crocheted in continuous rounds). See pictures below:
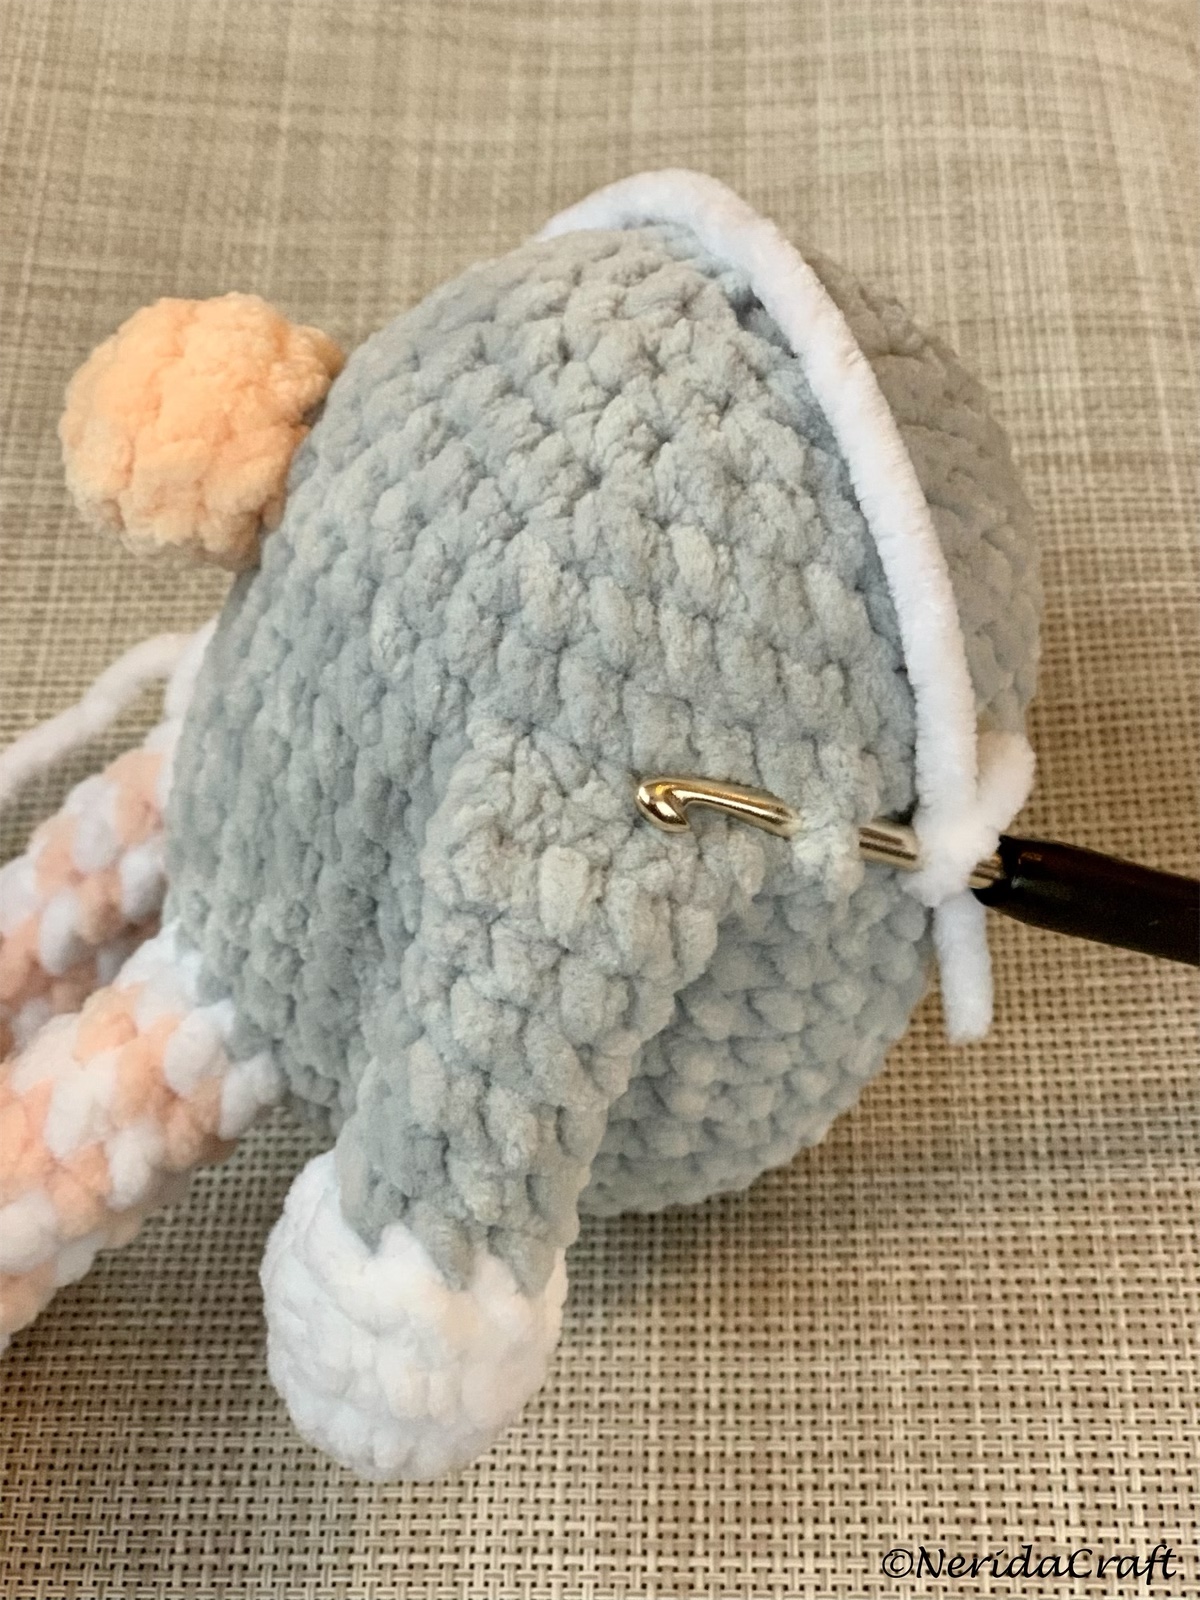
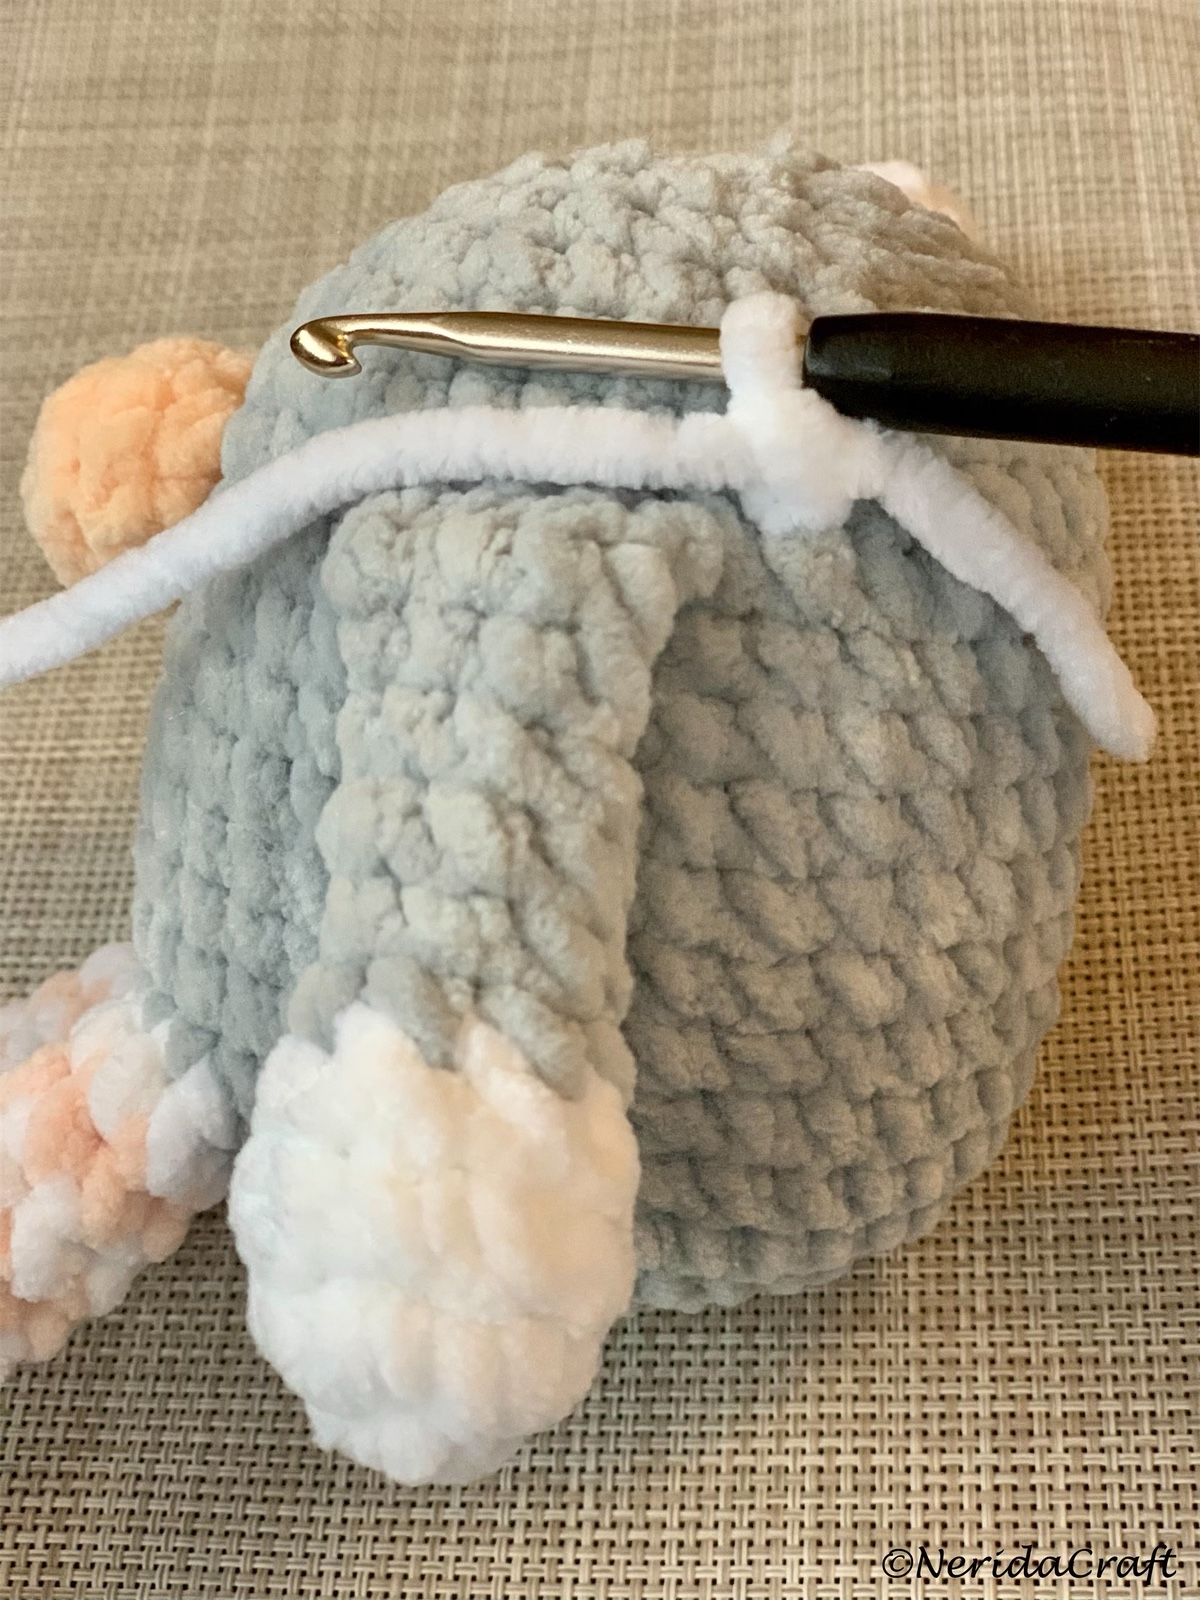
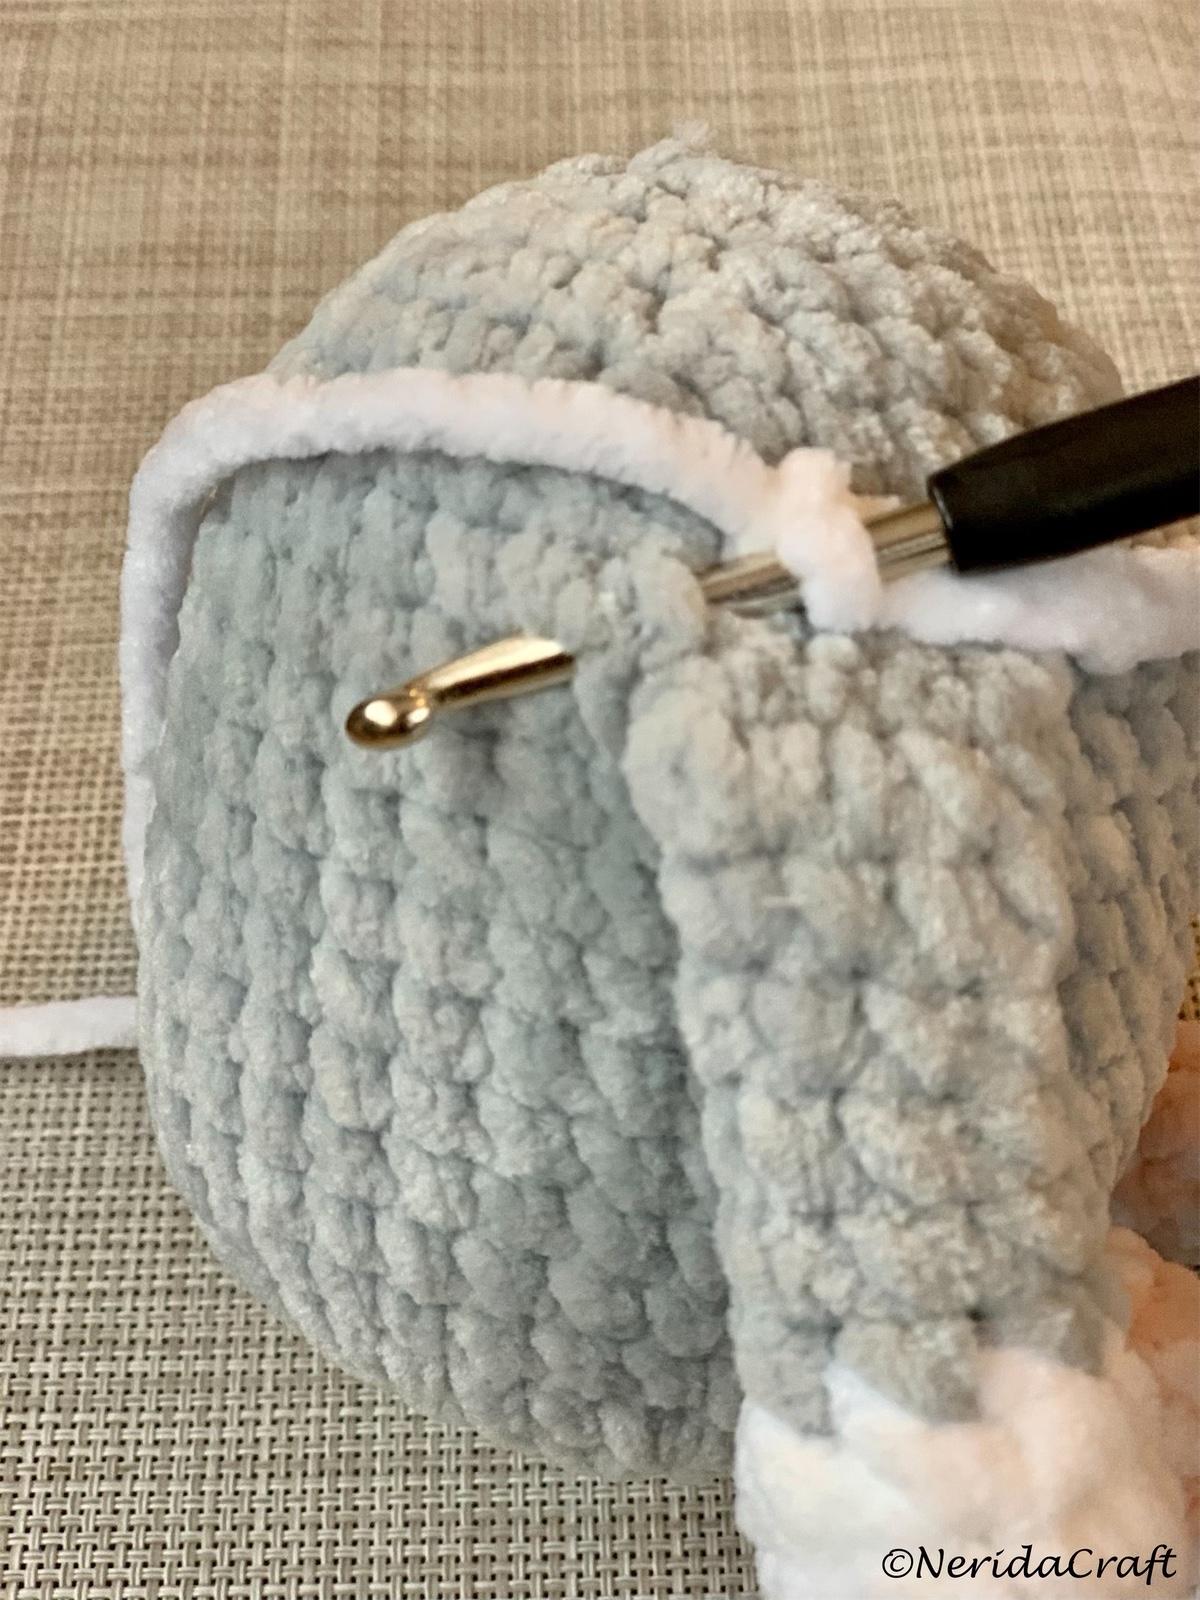
R1: 36 sc (surface sc – see instructions above) (36 sc)
R2-R3: 36 sc (36 sc)
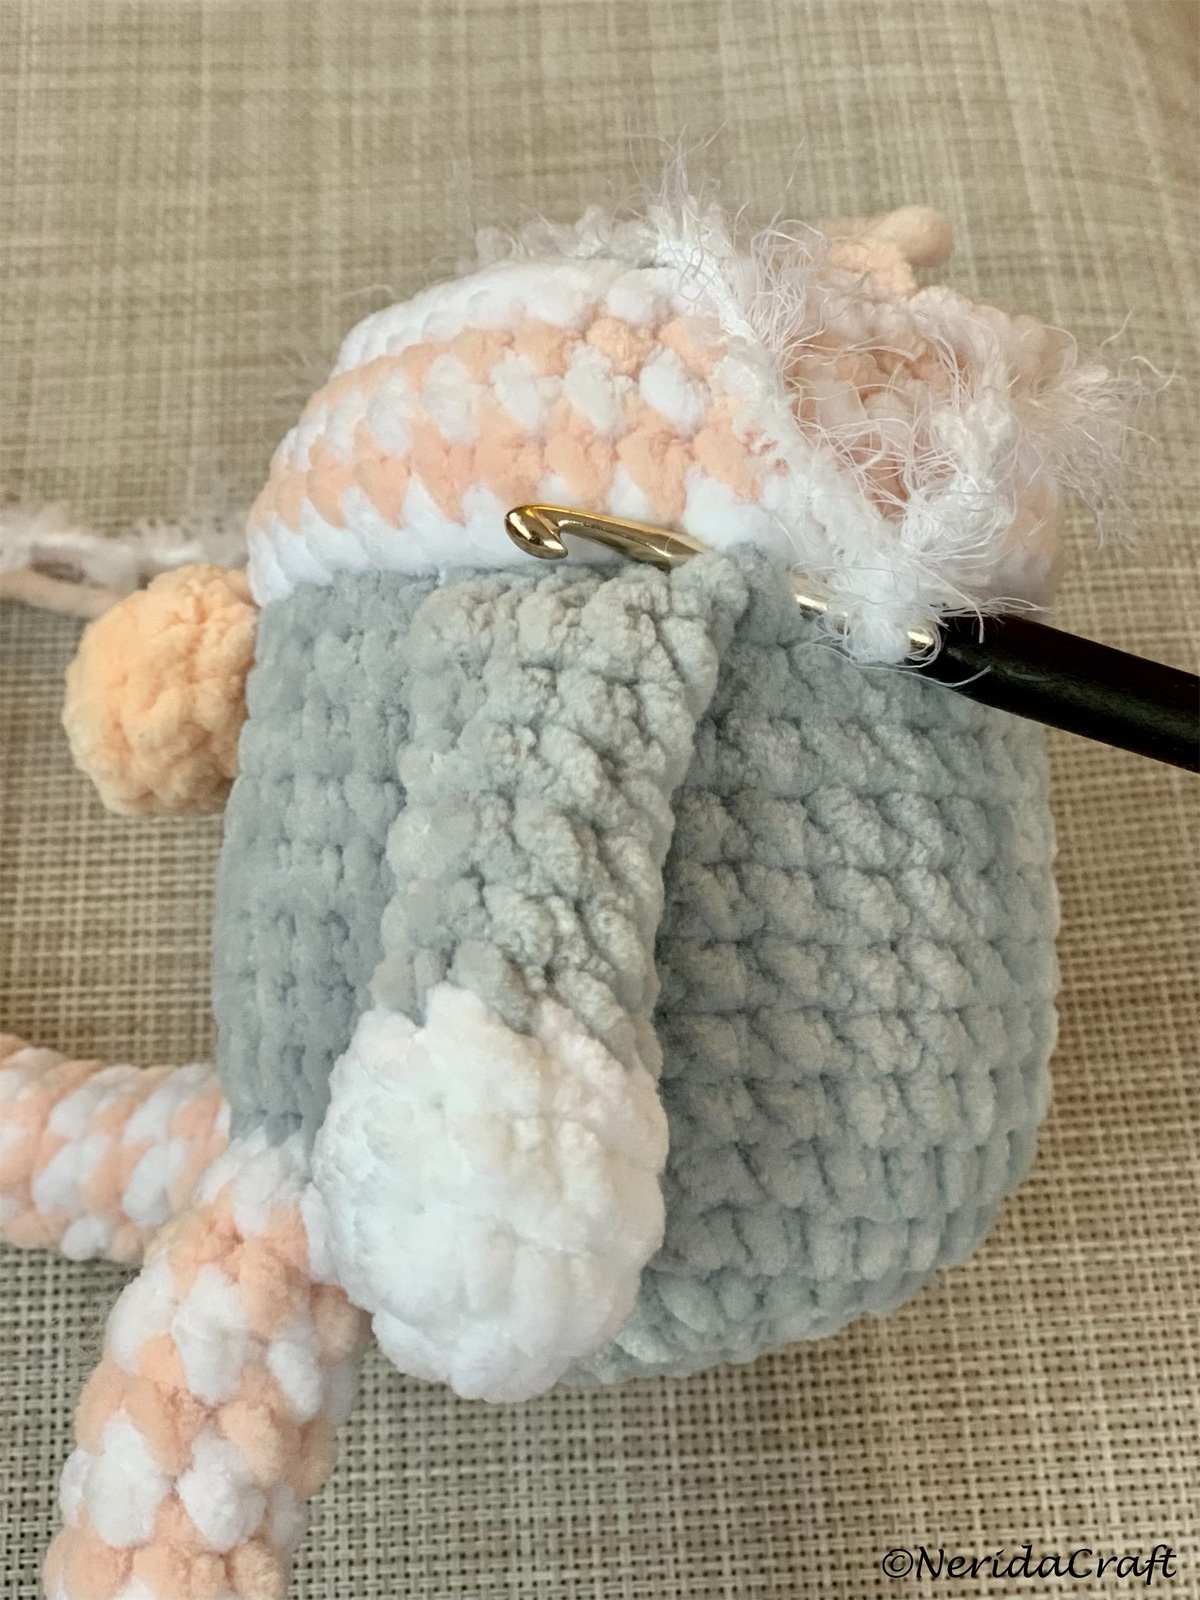
Before continue with the hat, add 2 rounds of surface sc’s with fury yarn (first round stitch to the same place where started the hat, the second round to the first round of the hat, above). For the red-hat gnome on the first picture above, I added only one row with white yarn.
R4: (10 sc, sc dec ) x 3 (33 sc)
R5-R6: 33 sc (33 sc)
Continue this way, make 3 decreases every 3rd row:
R7: (9 sc, sc dec ) x 3 (30 sc)
R8-R9: 30 sc (30 sc)
R10: (8 sc, sc dec ) x 3 (27 sc)
R11-R12: 27 sc (27 sc)
R13: (7 sc, sc dec ) x 3 (24 sc)
R14-R15: 24 sc (24 sc)
R16: (6 sc, sc dec ) x 3 (21 sc)
R17-R18: 21 sc (21 sc)
R19: (5 sc, sc dec) x 3 (18 sc)
R20-R21: 18 sc (18 sc)
R22: (4 sc, sc dec) x 3 (15 sc)
R23-R24: 15 sc (15 sc)
R25: (3 sc, sc dec) x 3 (12 sc)
R26-R27: 12 sc (12 sc)
R28: (2 sc, sc dec) x 3 (9 sc)
R29-R30: 9 sc (9 sc)
R31: (sc, sc dec) x 3 (6 sc)
R32-R33: 6 sc (6 sc)
R34: 3 sc dec, fasten off.
I’ve added 2 buttons to the hat as well, but it’s finished! 😊


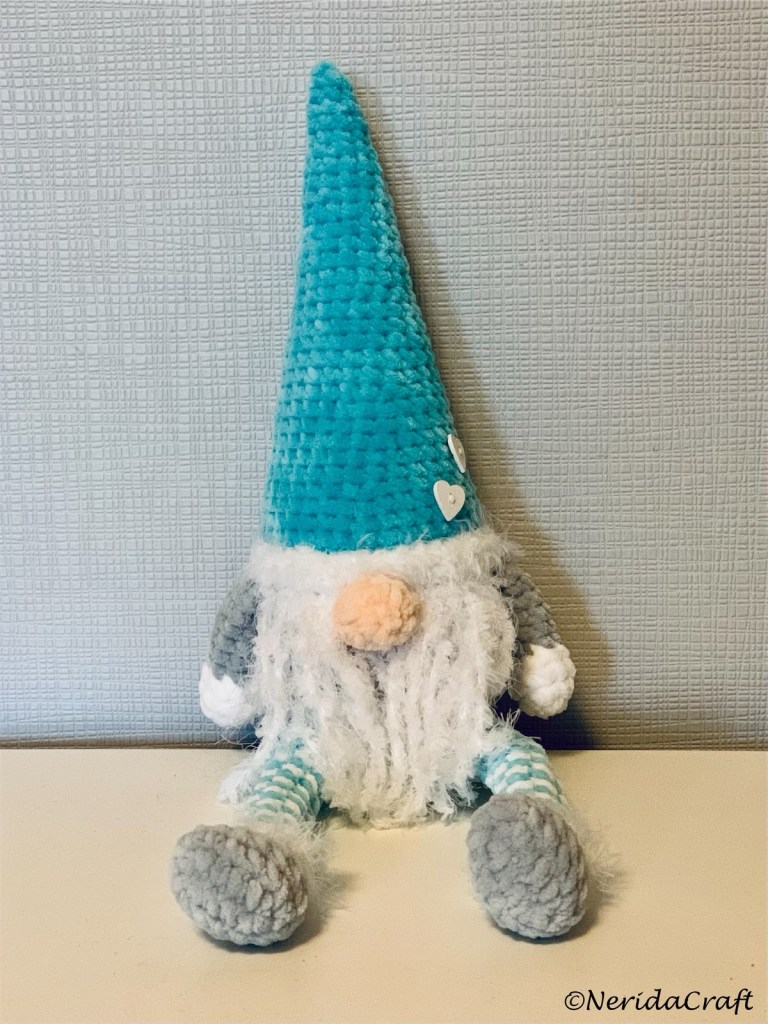
And finally I made a turquoise-blue gnome as well, with heart-shaped buttons 😊:
Cheers,
Judit

My daughters have been asking me to do some of these, which surprised me. I told them I was going to get some garden gnomes, and they freaked! No! As kids, clowns and people in costumes scared them to pieces. Now grown up, no clowns or yard gnomes! But these little guys they love. Go figure?! I’ll send a pic when I get it done.
LikeLiked by 1 person
I’m sure they will like it! 😊 You might be the first one using this pattern, so I’m really excited! Please let me know if there are any unclear parts in my description… and yes, I’ll be really happy to see yours! 😊
LikeLike